Category Archives: Baked Goods Recipes

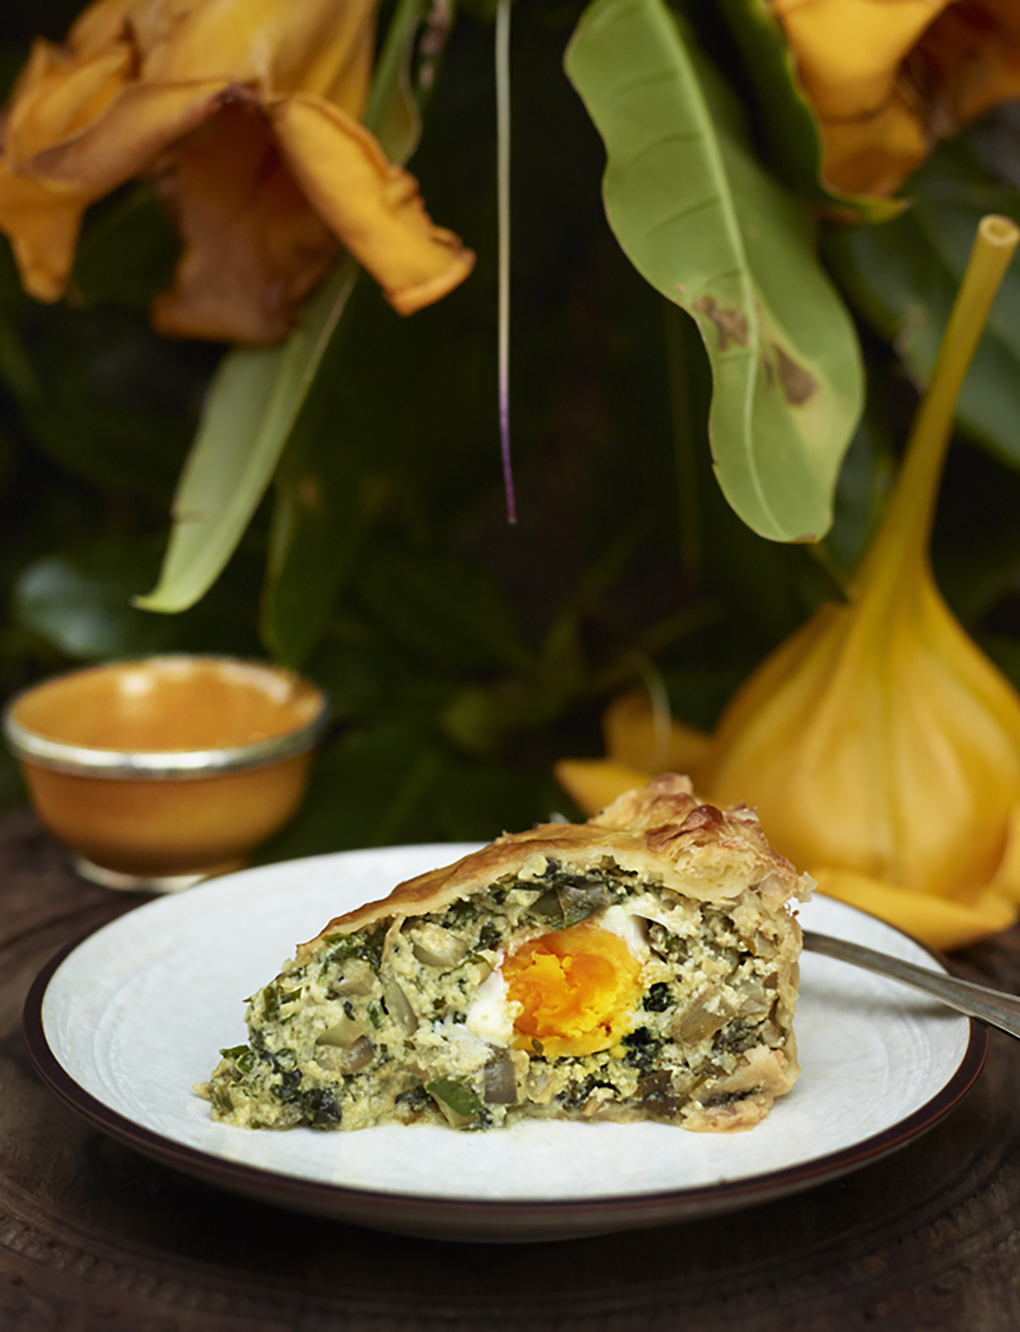
Torta Pasqualina


April 1, 2015

Den här tårtan är en italiensk klassiker på påskbordet. Ursprungligen kommer receptet från Ligurien och Piemonteområdet . Själv minns jag en vinter som jag spenderade i Chile, då min vän Patricia gjorde en liknande tårta som hon kallade Pasqualina. Den var med kronärtskocksfyllning.  -Ååh himmel så god den var! Mycket kärlek och arbete låg bakom det receptet. Först kokade Patricia kronärtskockorna, sedan skrapade hon ur vartenda blad och använde hjärtan och urskrapet från bladen till fyllningen. Vi nöjt denna delikatess heta eftermiddagar ihop med Patricias favoritcocktail Pisco Sour, trots att det inte var påsk.

Även här på Pantelleria bakas den italienska varianten varje påsk. Inte så konstigt kanske, då ingredienserna till fyllningen finns på en armlängds avstånd. Mangolden är just nu i bästa säsong och vi plockar den direkt från landet.

Med önskan om en God och Glad Påsk!

skarpAT-torta-pasqualina-CF103761

Lagom till 8-10 portioner med form på 23 cm i diameter.

Ingredienser
2 st stora mangoldshuvuden eller 3 st normalstora
(upphackat, sköljt och avrunnet ska det bli ca 1- 1,2 kilo
6 msk olivolja
3 stora vitlöksklyftor
1 stor gul lök
1 ruska färsk oregano (bör motsvara en halv kruka)
100 gram ruccola
375 gram smördeg
300 gram färsk ricotta
200 gram Parmesanost
7 st ägg (varav ett uppvispat till pensling)
6 msk grädde
Nymalen svartpeppar och havssalt

Gör så här
Skölj och skär mangolden i fina bitar.
Finhacka lök och vitlök.
Stek mangolden i omgångar med en skvätt olivolja tills den mjuknar och vätskan släppt.
Lägg den efter hand i en skål att svalna.
Stek lök och vitlök tills den är mjuk och genomskinlig, flytta över i samma skål som den färdigstekta mangolden.
Salta, peppra och rör om i skålen.
Finhacka ruccola och oregano, blanda i mangoldskålen.
Sätt ugnen på 180 grader.
Ta fram en pajform med diameter 23 cm och löstagbar botten.
Kavla ut smördegen tunt.
Pensla pajformen med lite olivolja och klä den helt med pajdegen upp på kanterna så att det även täcker en bit över pajformskanten.
Nagga botten med en gaffel.
Blanda i en annan stor skål ricotta, grädde med 2 st ägg, vispa runt, salta och peppra.
Riv ner Parmesanosten och blanda nu i det gröna.
Smaka gärna av om det behövs mer salt i fyllningen.
Kavla ut ett lock till pajen.

Fyll pajskalet med fyllningen och gör 4 st hål, stora nog att ett ägg får plats i varje.
Kläck ett ägg i varje urgröpning.
Tillslut med pajlocket, skär av överflödig deg längs kanten, men spara tillräckligt så att du kan stänga locket genom att nypa ihop det längs kanten.
Nagga locket med en gaffel och pensla med ett uppvispat ägg.
Grädda på 180 grader ca 25-30 min.
Serveras ljummen eller rumstempererad.

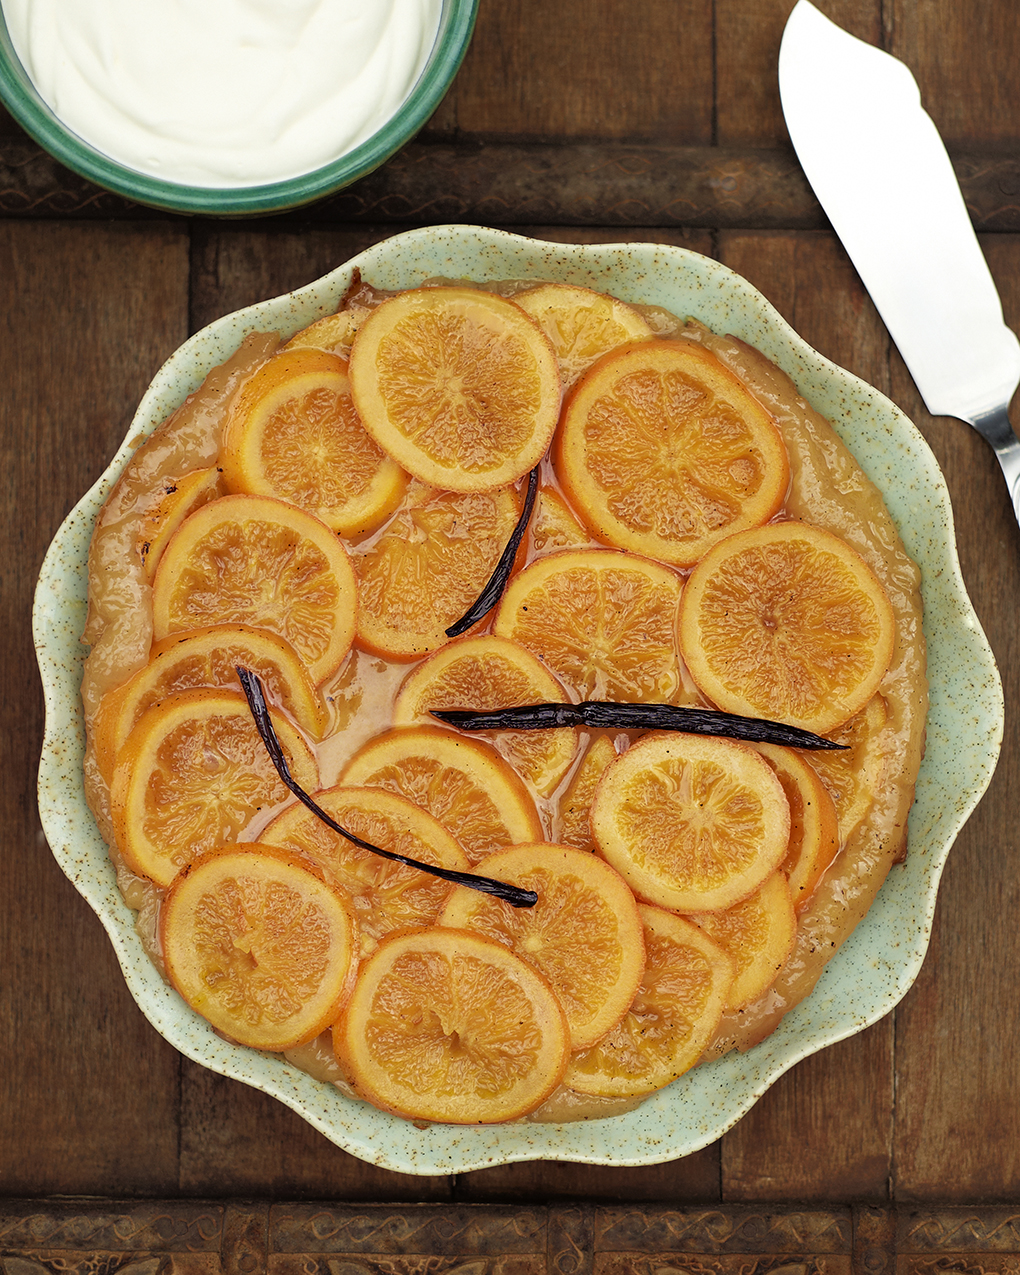
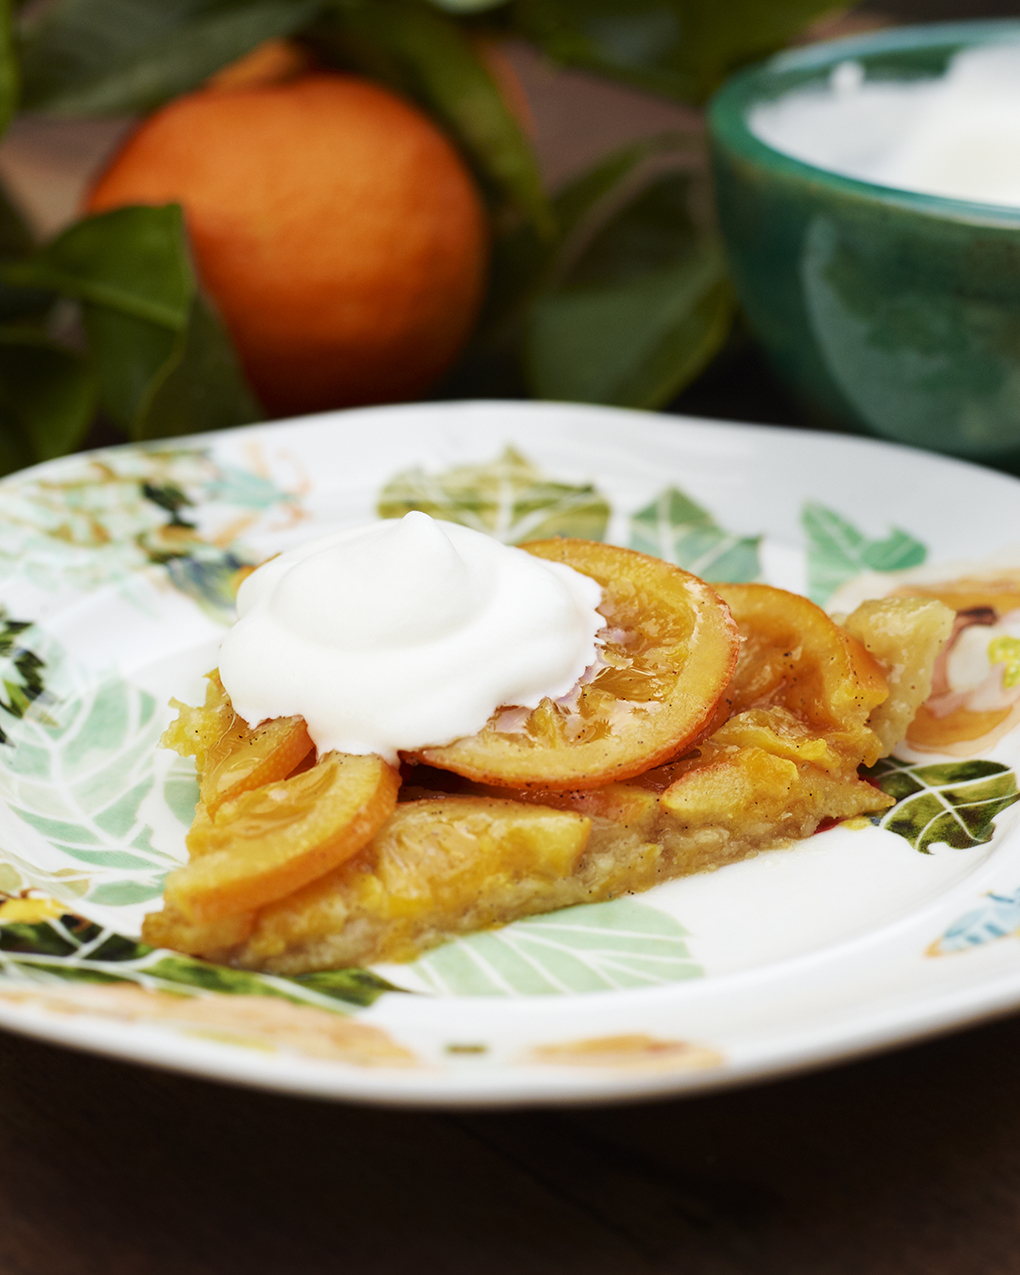
Apelsin Tarte Tatin


February 4, 2015

LL-CF013372

En av mina absoluta favoritdesserter är Tarte Tatin och jag är säker på att många av er håller med om dess förträfflighet. Ni som inte känner till den måste prova när tillfället dyker upp. Oftast är det ju i Frankrike där den här desserten har sitt ursprung.

Tarte Tatin är en uppoch nervänd paj som ska göras på äpplen med fast fruktkött och det finns många myter och rykten om dess ursprung. Ett av dem är att den kom till vid ett misslyckat äppelpajsbak i köket på Hotel Tatin i Lamotte-Beauron. Hotellet drevs av systrarna Stéphanie och Caroline Tatin. Stéphanie som var chef i köket glömde äpplena i stekpannan när hon karamelliserade dem i socker och smör. I stressen försökte hon rädda kakan genom att placera ut pajdegen som ett lock på stekpannan och hyva in allt i ugnen. Till sin förvåning upptäckte hon att gästerna älskade kakan och därefter hamnade den på menyn. Detta var i slutet av 1800- talet och namnet på rätten var då ” tarte solognote. Med tiden blev den hotellets paradrätt och man kan inte låta bli att undra hur dessa systrar som aldrig publicerade en kokbok eller ens skrev ner ett enda recept till eftervärlden skulle få sin äpplekaka så vida känd.

Legenden förtäljer att en man vid namn Louis Vaudable som då och då brukade åka till Lamotte-Beauron för att jaga besökte systrarnas restaurang och blev som besatt av pajen. Han var en riktig gottegris och dessutom ägare till Maxim´s i Paris. Med listiga metoder försökte han lirka fram receptet ur personalen men gick ständigt bet. Det gick så långt att när hotellet sökte ny trädgårdsmästare tog han jobbet i förhoppning om att komma över Stéphanies kökshemligheter. Det tog tre dagar för hotellet att upptäcka att Monsieur Vaudable var totalt värdelös som trädgårdsmästare och han fick sparken. Men vid det laget var spioneriuppdraget utfört och efter systrarnas bortgång sattes desserten upp på Maxim’s meny under namnet ” tarte de demoiselles Tatin”. Till Maxim’s i Paris kom artister, politiker och andra som rörde sig vant i världen och med dem reste systrarnas paj vidare som “Tarte Tatin”.

AA-CF009928

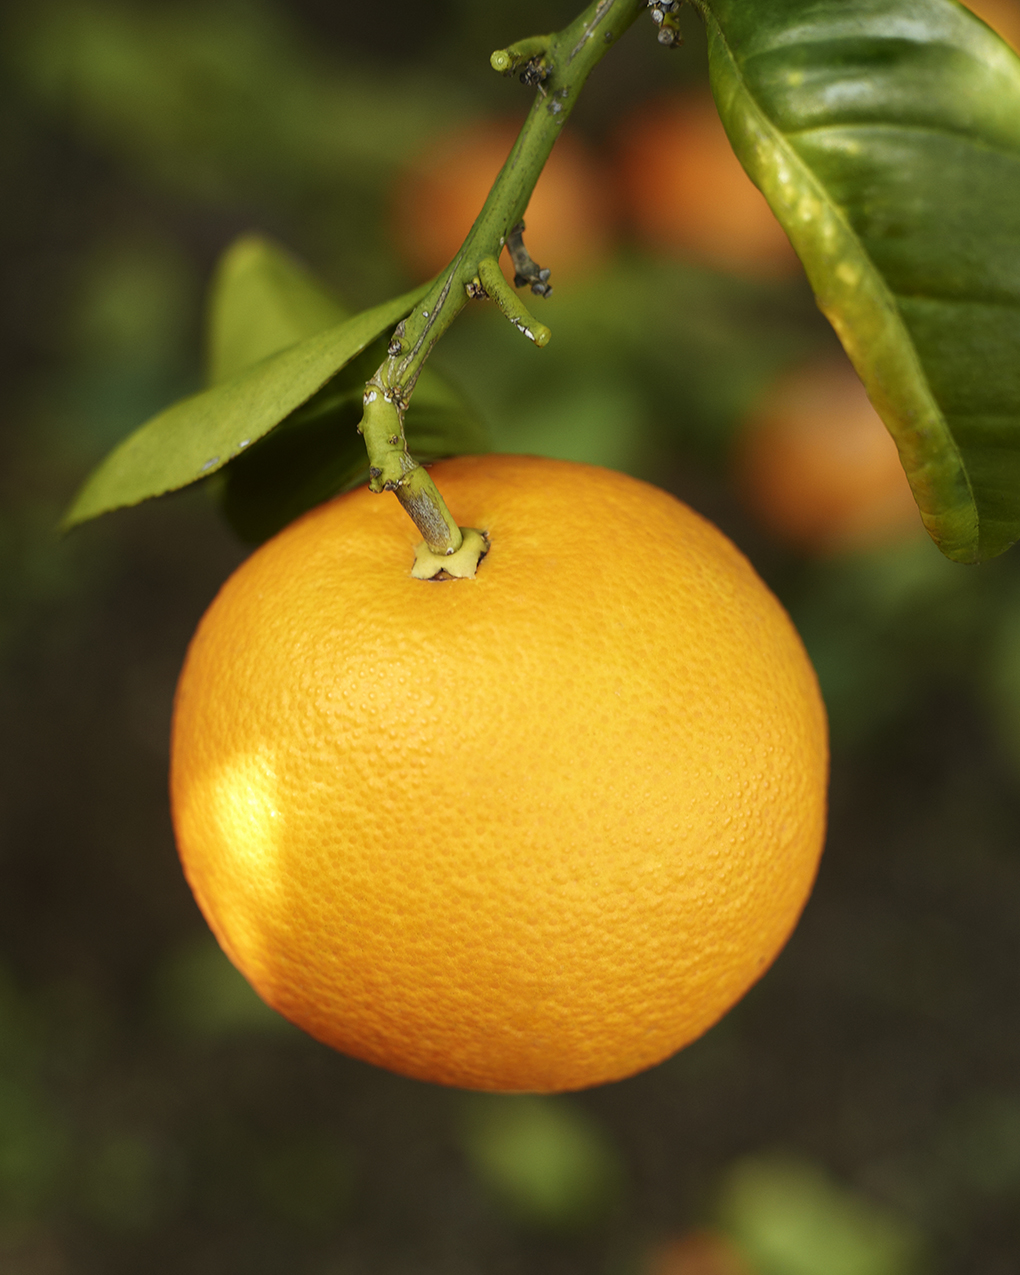
Så här års har vi inga äpplen på träden men mängder av citrusfrukter så det får bli en Tarte Tatin på apelsiner. Man kan använda antingen mördeg eller smördeg till botten/locket. Om du köper apelsinerna i butik så tvätta dem noggrant eftersom också skalet ska vara med.

Apelsin Tarte Tatin
8 portioner

Ingredienser
75 gram smör
1,5 dl socker
1 vaniljstång (repad)
3-4 söta apelsiner
200 gram smördeg (en rundel på ca 24 cm diameter 0,5 cm tjock)

Gör så här
Tvätta apelsinerna och skär dem i tunna skivor med skalet på.
Sätt på ugnen 200 grader.
Ta en ugnssäker stekpanna på ca 24 cm i diameter och smält smöret på låg värme.
Blanda i sockret och vaniljen och låt detta smälta ihop på fortsätt låg värme.
När sockret har karamelliserats ta av pannan och placera apelsinskivorna tätt och lite omlopp så att de täcker hela pannan.
Gör en rundel av smördegen och placera över apelsinlagret som ett lock, skär bort överblivna kanter.
Grädda i 200 grader i 20-25 minuter.
Låt tarten vila och sätta sig något i ca 20 minuter innan du vänder upp den på en tallrik.
Servera ljummen eller rumstempererad, gärna med vispad grädde eller vaniljglass.

LL-CF013671

Swedish magazine Lantliv and a pie from the lemon tree


January 26, 2014

Friends, I have news! I will be contributing the food portion for a blog in the Swedish Magazine Lantliv http://www.lantliv.com/category/bloggar/anna-huerta/. The recipes will be in Swedish and there are three posts already! And make sure to check out my fellow bloggers Leija Kortesaari, Victoria Skoglund and Bella Linde all very interesting in their different fields http://www.lantliv.com/bloggar/
Under the Almond Tree will continue to be published in English. My hope is that you will continue to follow our posts whether you choose the Swedish version at Lantliv or Under the Almond Tree.

lemone lunare tree-CF020182

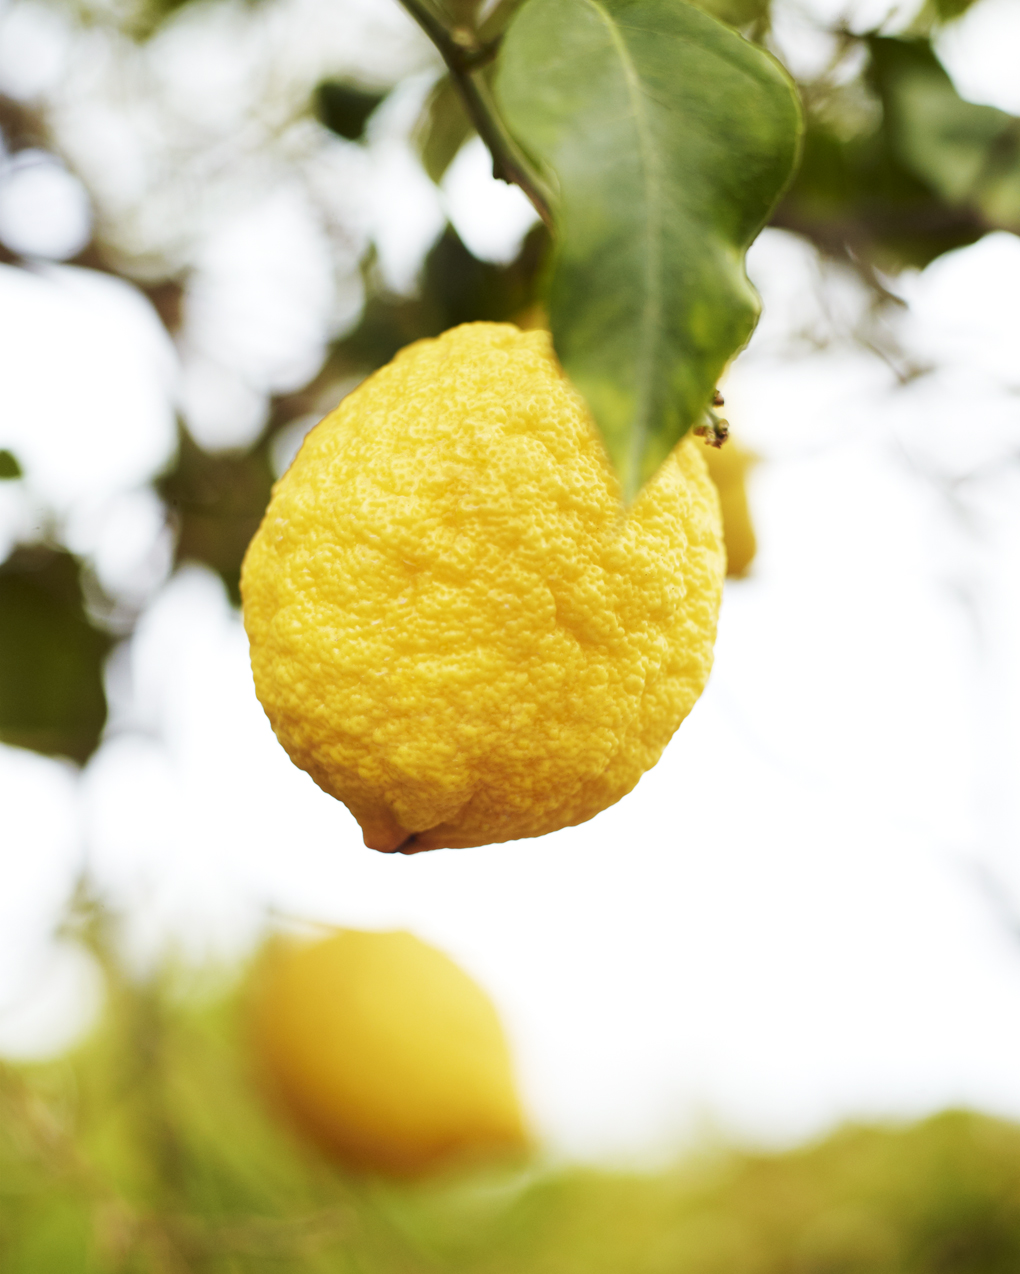
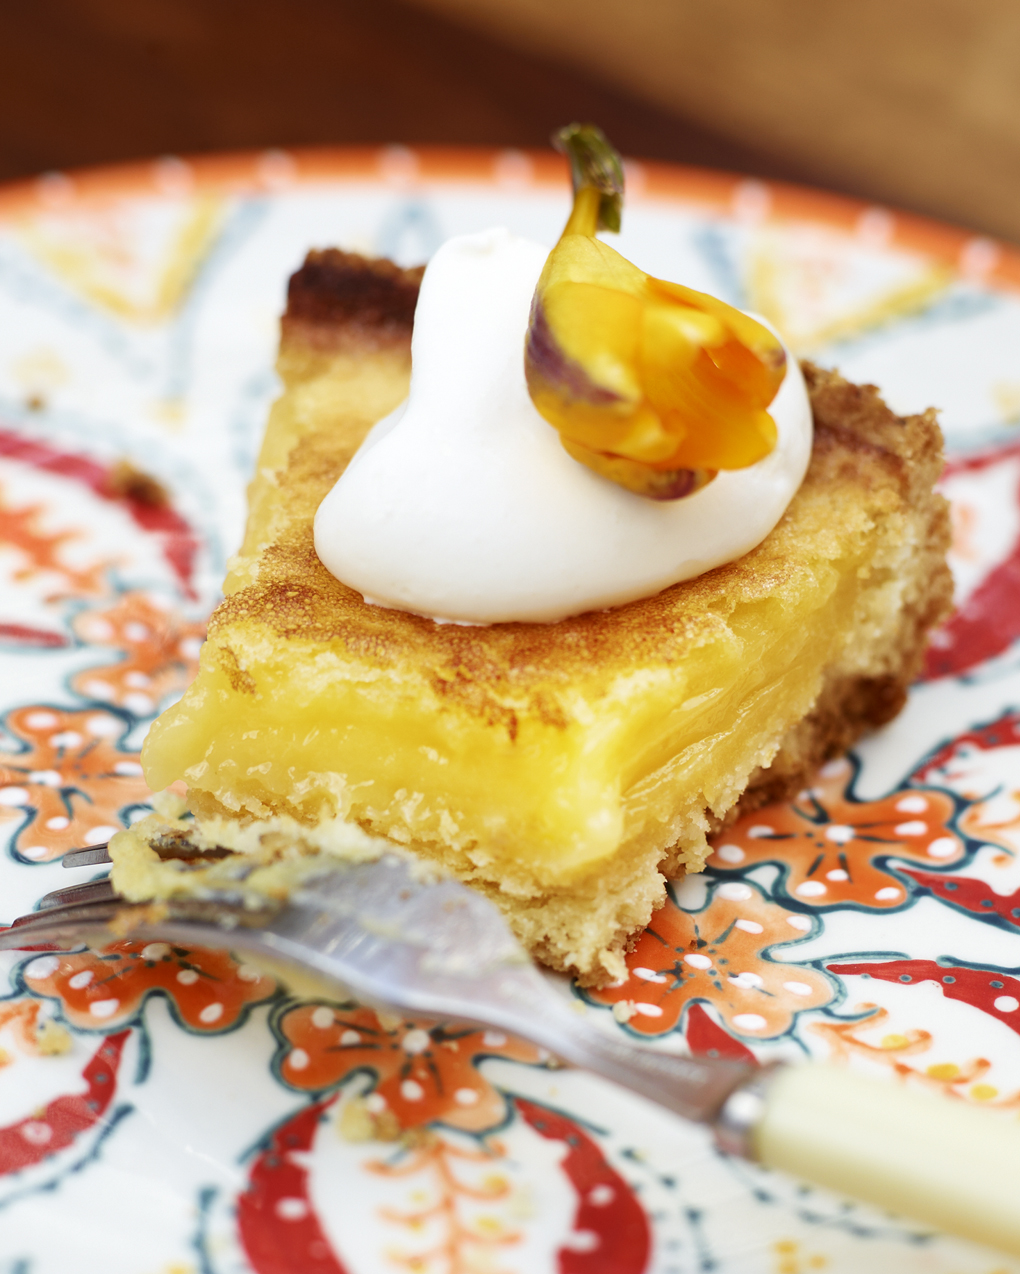
This week’s post is from our garden, home to an amazing lemon tree. The name for this tree is Limone Lunare. Upon the full moon, it makes new lemons. Picking the fruits releases their perfume, a magical scent, fresh and sweet at the same time. The tree provides us with fruit year round, but during the hottest summer months when rain is in short supply it adjusts its production accordingly. Late January through April the tree is full of yellow lemons. I have a weakness for all sweets and desserts made with lemon. The first time I ever tasted this lemon pie was after a dinner served by my friend Sara, a master of desserts and baked goods. She generously gave me her recipe. Over the years and many pies, I have changed it a little bit by adding more lemon cream and including some vanilla to the crust.
10 years later, this pie remains a favorite to all. Enjoy!

lemons-CF024321
Lemon pie

9 Inch ( 24 cm) cake tin
Serves 8 portions

Ingredients
Pie crust
7 Oz (200 grams) butter
1 1/4 Cup ( 3 dl) All-purpose flour
5 Tablespoon caster sugar
1 1/2 teaspoon bourbon vanilla powder or other vanilla extract
Lemon cream
6 Eggs (room temperature)
1 1/2 Cup (3.75 dl) caster sugar
1/2 Cup (1.2 dl) sifted flour
1 Cup ( 2.4 dl) fresh lemon juice

Method
Preheat oven to 400 F (200 C) degrees.
Melt the butter over low to medium heat on the stove.
In a bowl mix the flour, sugar and vanilla sugar.
Pour the butter over the flour mixture and stir to a smooth dough .
Place the dough into the cake tin. Using your fingers, make a thin crust by pushing the dough evenly across the cake tin as well as up a bit on sides of the tin.
When finished, place the tin to rest for 10-15 minutes in the fridge. (this will allow the butter to harden when baking the crust the butter melts creating steam and making the crust flaky.)
Place the pie crust on the lower rack in the oven bake pie crust at 400 degrees F (200 C) for about 7-8 minutes remove and allow to cool.

In a bowl, whisk sugar and eggs to soft peaks, sift the flour into the bowl slowly alternating with whisking to make smooth batter, last add in the lemon juice.
Fill the crust with the lemon cream and bake for 10 minutes on the lowest rack in the oven.
Let pie cool before serving, this allows the cream to sit and gel a little bit.
Serve with whipped cream .

lemon pie-CF013257Plate from Anthropologie http://www.anthropologie.eu/anthro/index.jsp


An ancient Christmas sweet


December 17, 2013

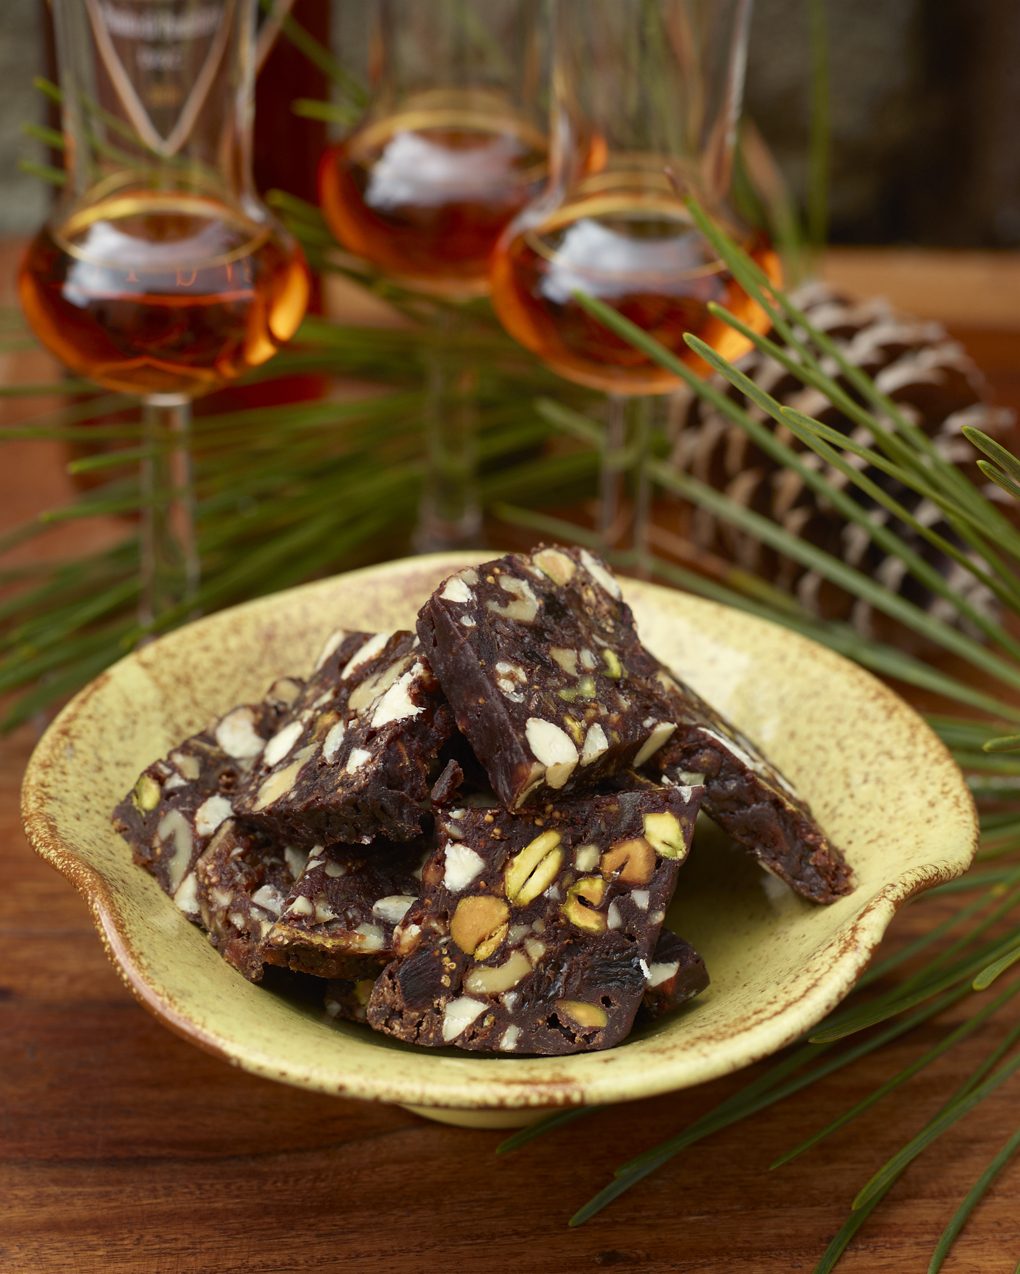
Christmas time is just around the corner, my favorite Italian christmas sweet is a spicy , chewy fruit bread that ‘s called Paneforte. Its tradition are rooted deep in Siena and has been made by nuns since the twelveth century. The recipe has been pretty much remained unchanged, just a little change was made in the eighteenth century when chocolate became popular in Europe, and off course was added to this recipe, put all goodies you can get in the cake!

In this recipe Im using Pantellerias uva passa and Passito wine, if you don’t have this on hand you can use other raisins and exchange the Passito to Marsala or Port wine. You can make this Paneforte in good time before serving, well wrapped and contained it holds at least for 3 months.

Wish all of You a Merry Christmas
/ Annapaneforte -CF064061

Ingredients
1/2 Cup (1.2 dl) uva passa or raisins
1/3 Cup (0.8 dl) Passito di Pantelleria
1 Cup (2.4 dl) almonds
1 Cup (2.4 dl) walnuts
1/2 Cup (1.2dl) pistachios

2 Cups (4.8 dl) of mixed dried fruits
1 Orange (use only the orange peel)

1/3 Cup (0.8 dl) flour
1 teaspoon grounded cinnamon
A pinch of clove powder
1 teaspoon sea salt  flakes
1/2 Cup (1.2 dl) honey
1 Cup (2.4 dl) caster sugar
5 Oz (150 grams) dark chocolate ( 70%)

Method
Remove the core in the uva passa and pour over the Passito wine.
Let stay for 1 hour.
Line a baking dish with nonstick paper and set the oven temperature at 350 F
(175 C) degrees

Dry toast the nuts lightly in a skillet on the stove over low heat, then chop the nuts roughly.
Remove the stones if using dried fruits with core, (for example dates) and chop the fruit roughly as well.
Grate the orange skin and mix together with fruits, nuts and the uva passa.
Don´t throw out the reamaining Passito wine!

Mix the flour and the spices well and after mix together with the fruit and nuts.
Crumble the sea salt between your finger and stir it all together.

Break the chocolate into pieces.
Melt the honey and sugar in a heavy saucepan on medium to low heat.
Once the sugar has dissolved add the chocolate and the leftover Passito wine.
Stir the bottom of the pan ( to make sure the sugar don’t burn) and simmer for a few  more minutes.

Pour into the bowl with the other ingredients and mixed thoroughly. Pour the paneforte batter into the cake tin and bake at the bottom of the oven at  350 F degrees ( 175 C)  for 15 -20 minutes.

Once the cake has completely cooled, wrap tightly in plastic wrap  or waxed paper and store in a  dry place.

Cut in pieces before serving.

Uva Passa and Passito Cake


December 4, 2013

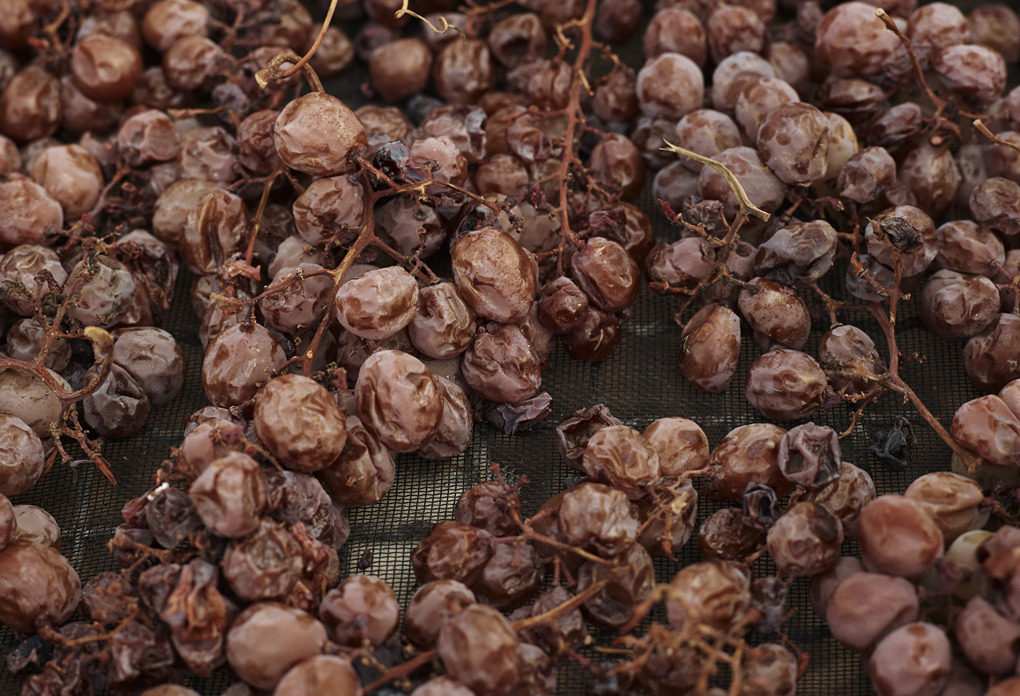
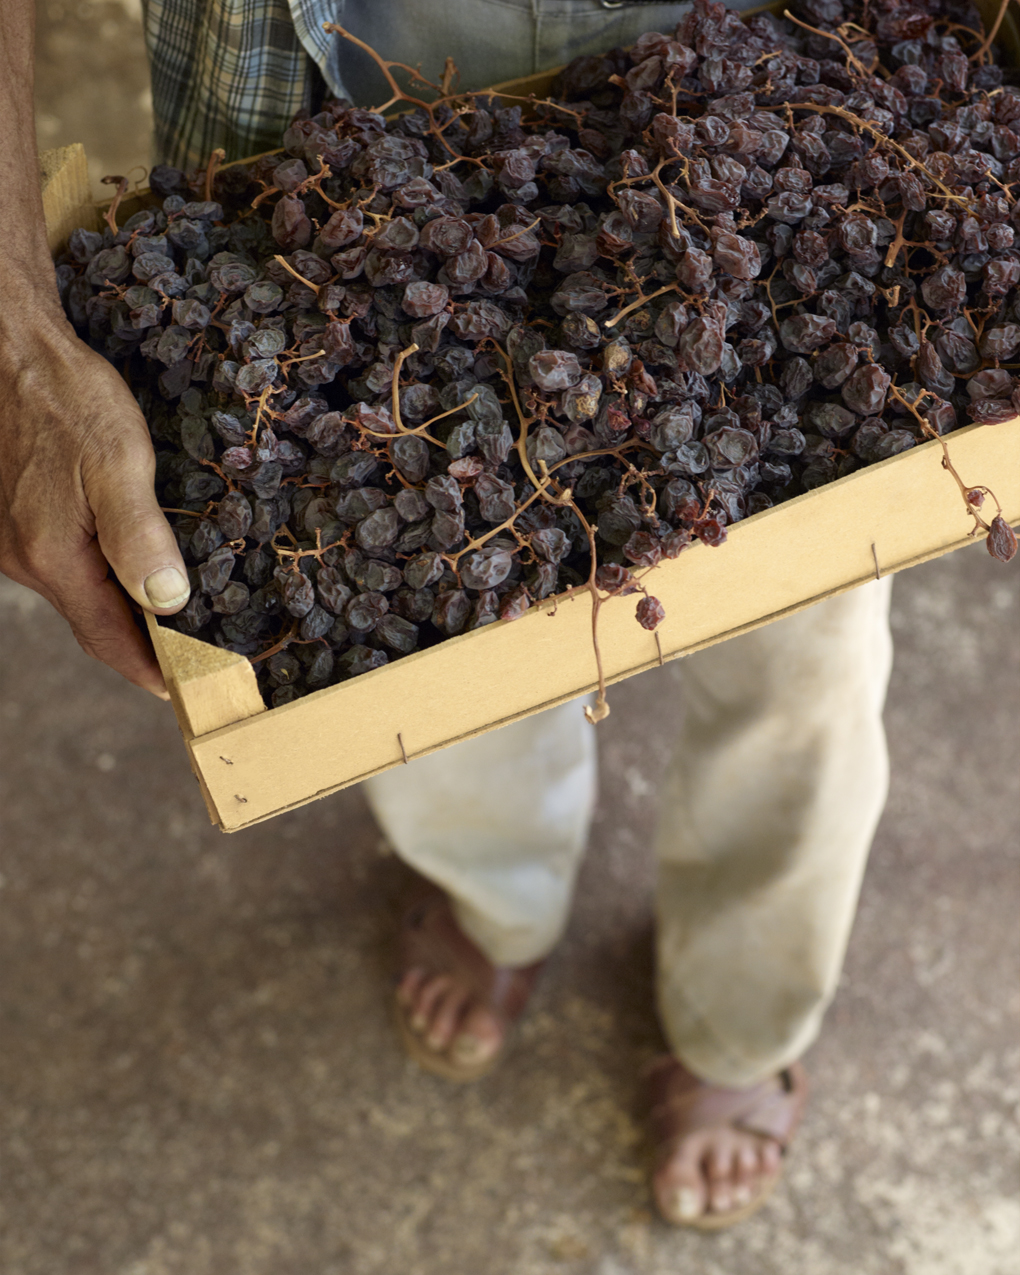
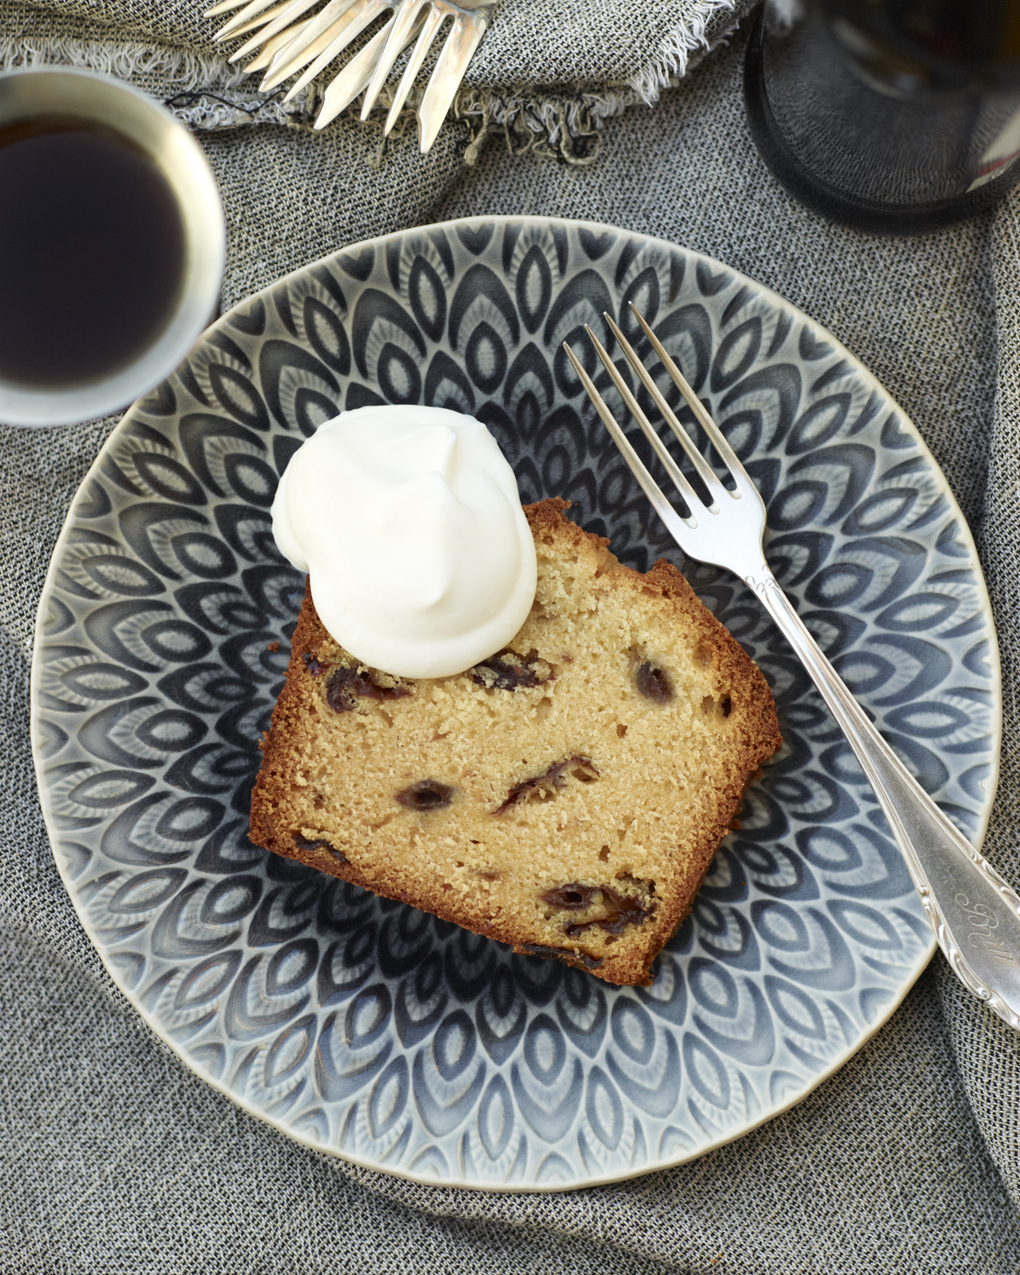
This is the Pantescan variation of dried fruit cake, I can’t resist using our delicious uva passa , sun dried Zibibbo grapes (raisins) from this summer. Marinated in Passito di Pantelleria it brings out the essence of the island into this cake.  Serve the cake as an Italian breakfast with coffee or as a winter dessert with a spoon of whipped cream or marscapone. The cake can keep at least a month if you can resist not eating it all up.

uva passa half done-CF053734This is Zibibbo grapes drying in the sun, those became sweet delicious raisin now in my cake!

uva passa- centesimoCF050373 1

Uva Passa and Passito cake
Ingredients
9  Oz (250 grams) of  seedless uva passa or other raisins
1/2 Cup (1.2 dl) Passito di Pantelleria or other sweet wine like Marsala or Port
1/4 Cup (0.6 dl) almond flakes
1.2 Lb (545 gram) of soft butter
5 Eggs
3 Cups (7.3 dl) all purpose flour sifted
2 Cups (4.8 dl) sugar

Method
Marinate the uva passa with the Passito allow them to marinate  for at least 6 hours or overnight.
Preheat the oven to 350 degrees F (175 C).
Toast the almonds in a tablespoon of butter in a skillet over low heat.
The almonds should be toasted to a golden, be careful not to burn them.
Whisk the eggs and sugar until white and fluffy.
Whipped butter to a fluffy and soft.

Combine in batches, the egg mixture with the sifted flour into the whipped butter. Add the uva passa (also add the left over Passito in to the batter) and almonds.
Pour the batter into  parchment paper lined loaf baking pan .
Bake at  350 F degrees (175 C) for at least 90 minutes.
Check with a toothpick so that the cake is dry in the middle, if not continue baking and check every 10 minutes.

Let the cake cool down, wrap in foil and let rest until time to serve.

uva passa and passito cake-CF091417

Pumpkin cake for Halloween!


October 31, 2013

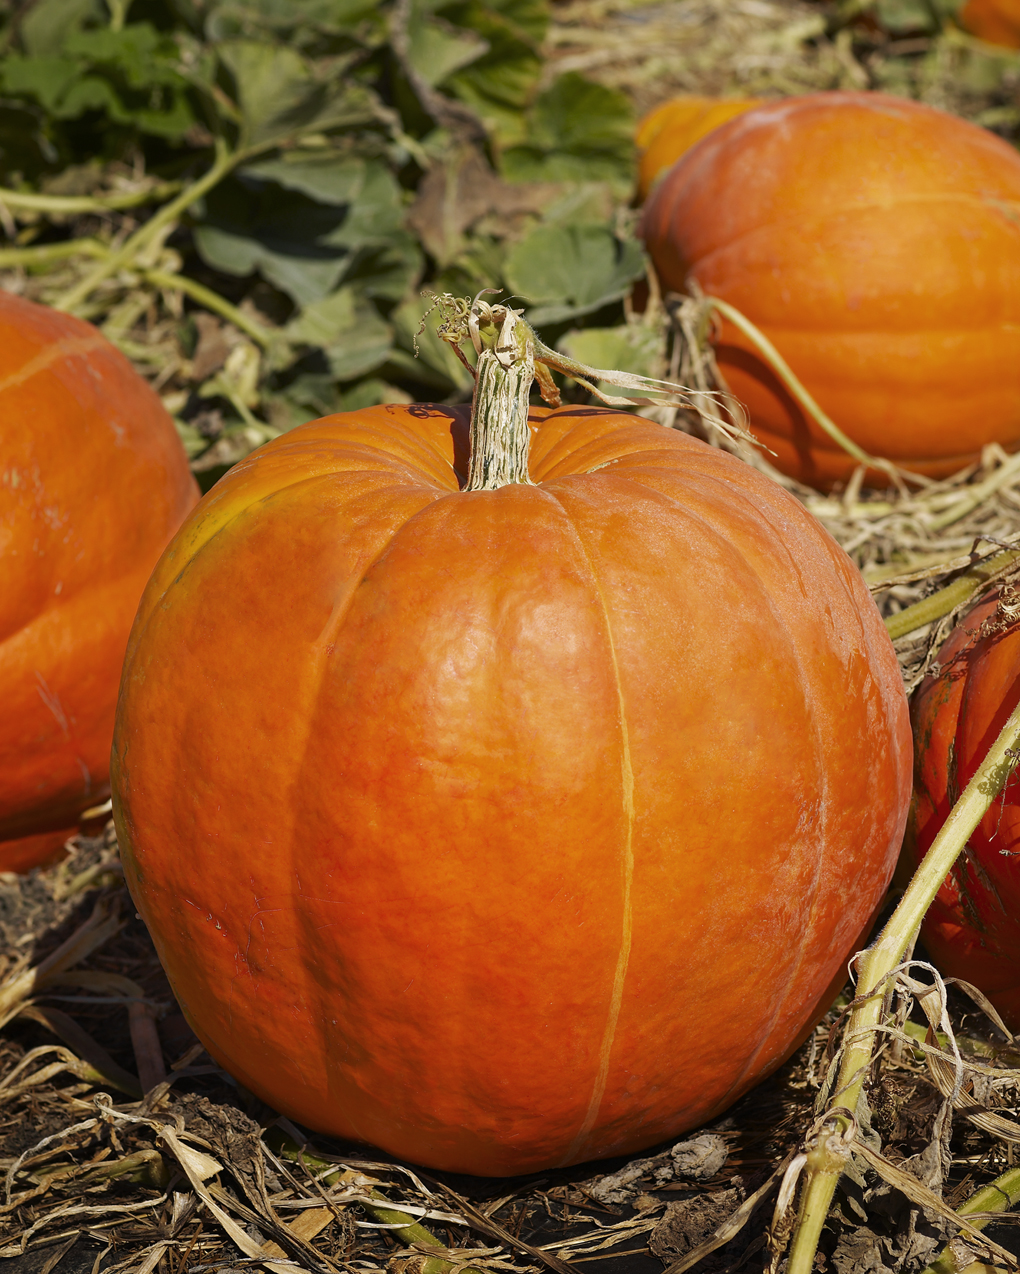
Here in the very south of Italy I have experienced that cakes are made with vegetable oil…not my thing at all. I’m a Swede, I love butter! I need my butter ! So my cakes are made with butter, basta. But if you, like all people I know here in Pantelleria, prefer baking with oil, you can exchange the butter in this recipe to sunflower oil. If  you do so, use 1 cup ( 2.4 dl) of oil instead of the 7 oz (200 grams) butter. I used a square cake tin sized 8 x 8 x 2 inches ( 20 x 30 cm) and if you are using a round one a good size would be 9.5 inches (24 cm) by diameter.

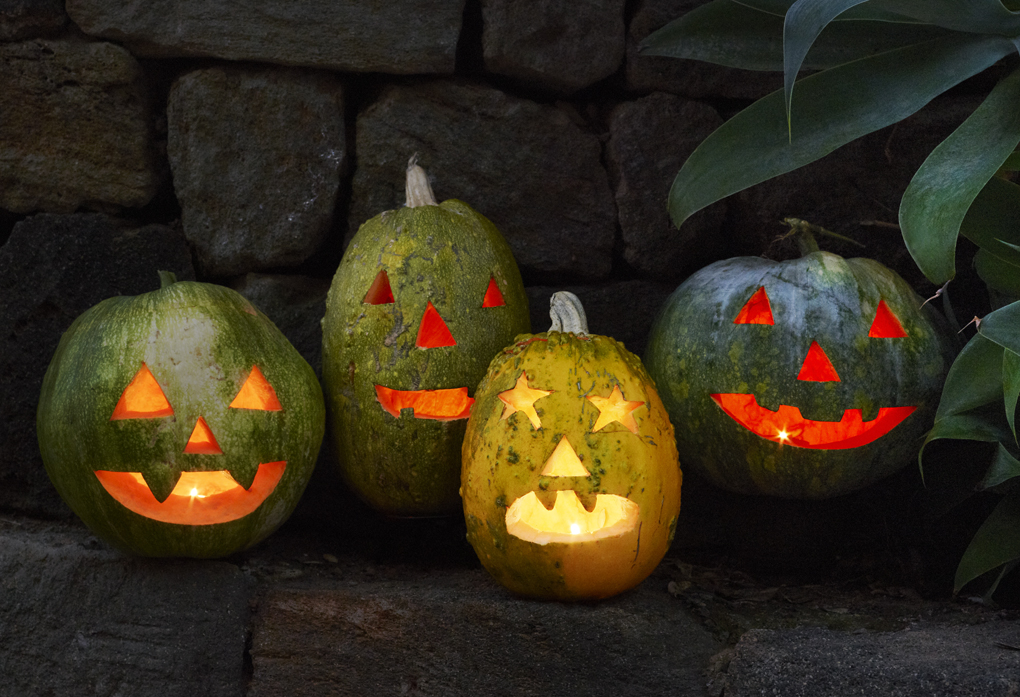
Have a happy Halloween!

halloween-pumpkin

Pumpkin Cake
Make 10 pieces
Square cake tin 8x8x2 inches (20 x 30 cm) or a round cake tin 9.5 inches ( 24 cm)

Cake ingredients
4 eggs
1 1/2 Cups (3.7 dl) sugar
7 oz (200 grams) butter or 1 cup (2.4dl ) of sunflower oil
1 1/2 Tablespoons cardamom (powder)
1 teaspoon cinnamon
1/2 teaspoon of sea salt
2 1/2 teaspoons of baking powder
1 1/2 Cups (3,7 dl) flour
2 Tablespoons fresh grated ginger (if not available ginger powder can be used 1 Tabelspoon)
2 cups (4,8 dl) of fresh grated pumpkin (canned pumpkin can be used if you cannot find fresh)

Frosting ingredients 
2 oz (56 grams) soft butter (room temperature
5.5 oz (155 grams) cream cheese (soften slightly room temperature)
1/2 cup (1.2 dl) icing sugar (confectioner’s sugar or powdered sugar)
1 lemon, zested and minced or grated
1 Tablespoon of lemon juice

Method
Preheat the oven 300 F (150 C) degrees.
Line the baking tin with nonstick oven paper.
Grate the pumpkin using the a largest hole size on the grater .
Grate the ginger using a smallest size on the grater. (Halloween hint if you wrap the grater with plastic film prior to grating the ginger and or lemon. Proceed as normal this step will allow the grated ginger or lemon to stay on top of the plastic and not become caught in the grader and difficult to remove your spice and clean up the grader)
Mix these two together ingredients together using a fork.
Melt the butter.
Mix all the dry ingredients.
Beat the egg and sugar white and fluffy and mix with the rest of the ingredients until batter is smooth.
Pour the batter in the cake tin and bake for 50- 55 min.
Check the cake with a wooden toothpick  to make sure it’s ready.
The cake should be soft but not sticky inside.

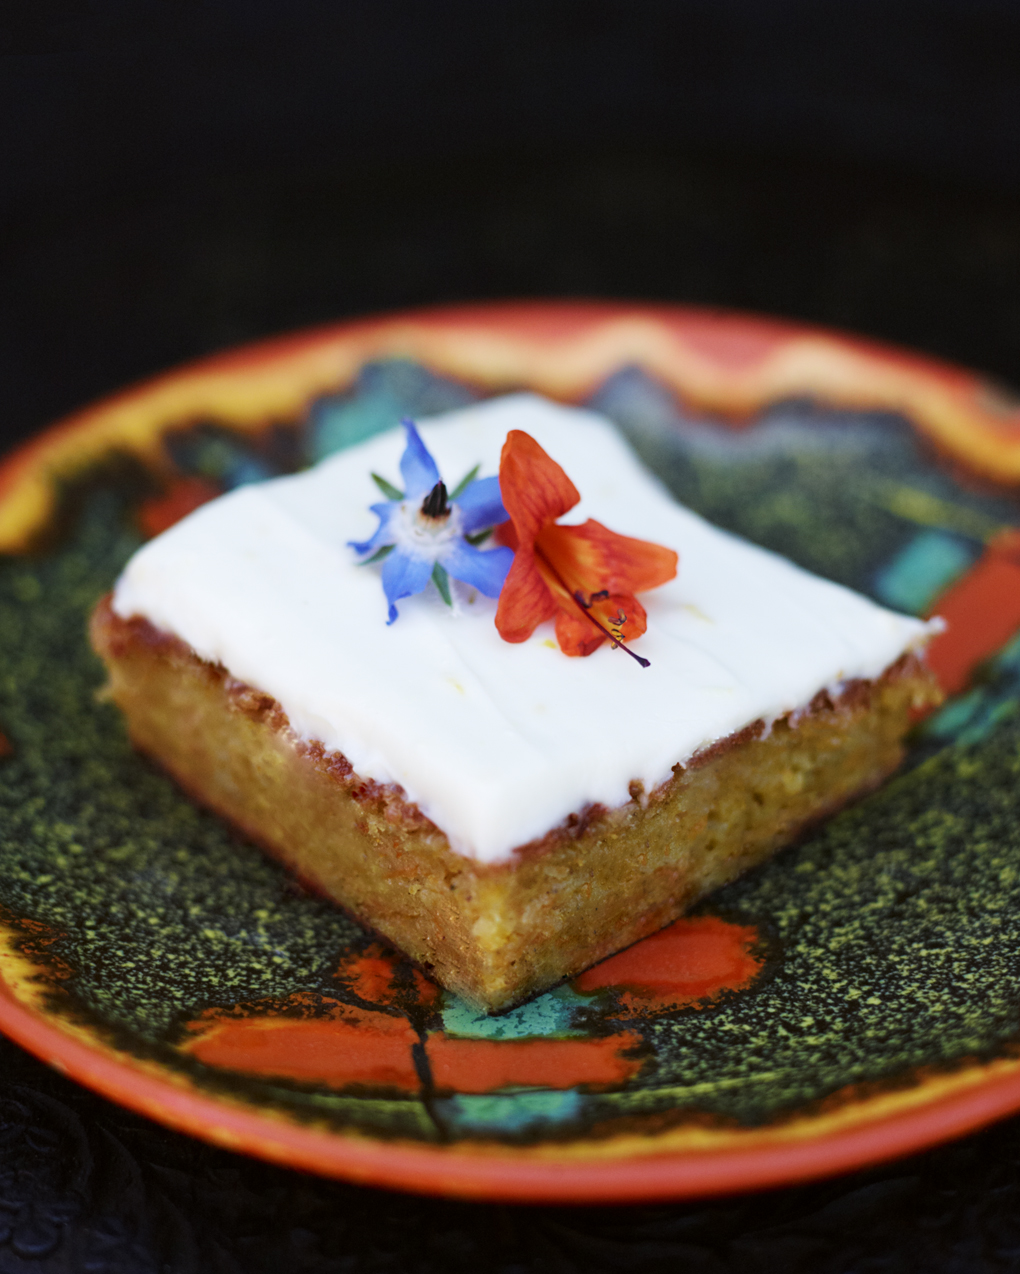
Whip the frosting ingredients together in the order presented above until you get a smooth cream. When the pumpkin cake has cooled after baking, spread a thick layer of frosting over the pumpkin cake, cut pieces and serve, yum yum!

pumpkin cake-CF066729

happy halloween CF057618

Blackberries for Igor


September 23, 2013

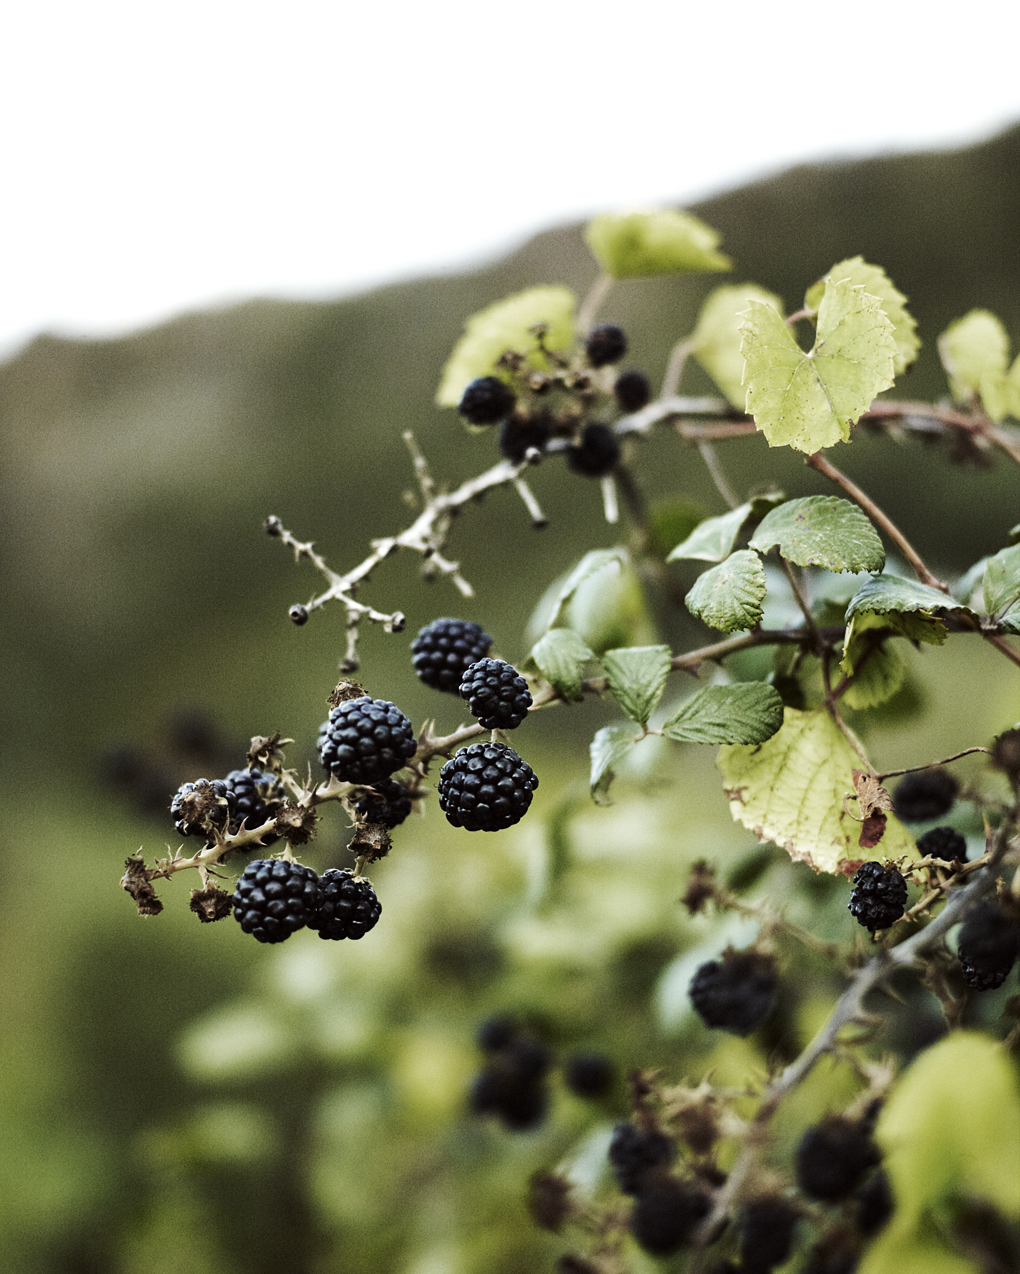
1-blackberries ghirlanda-CF048840

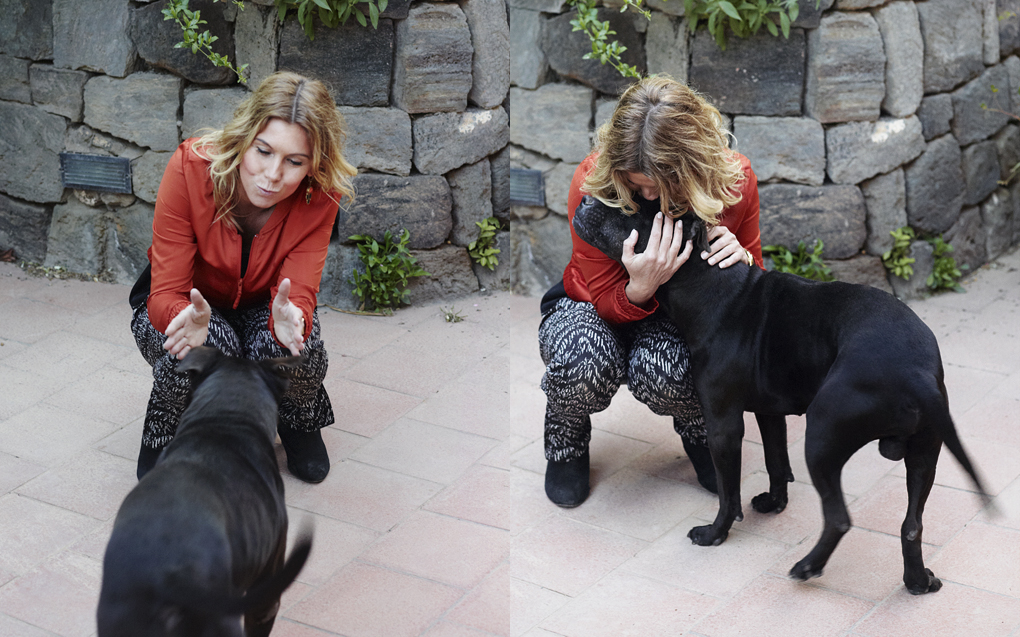
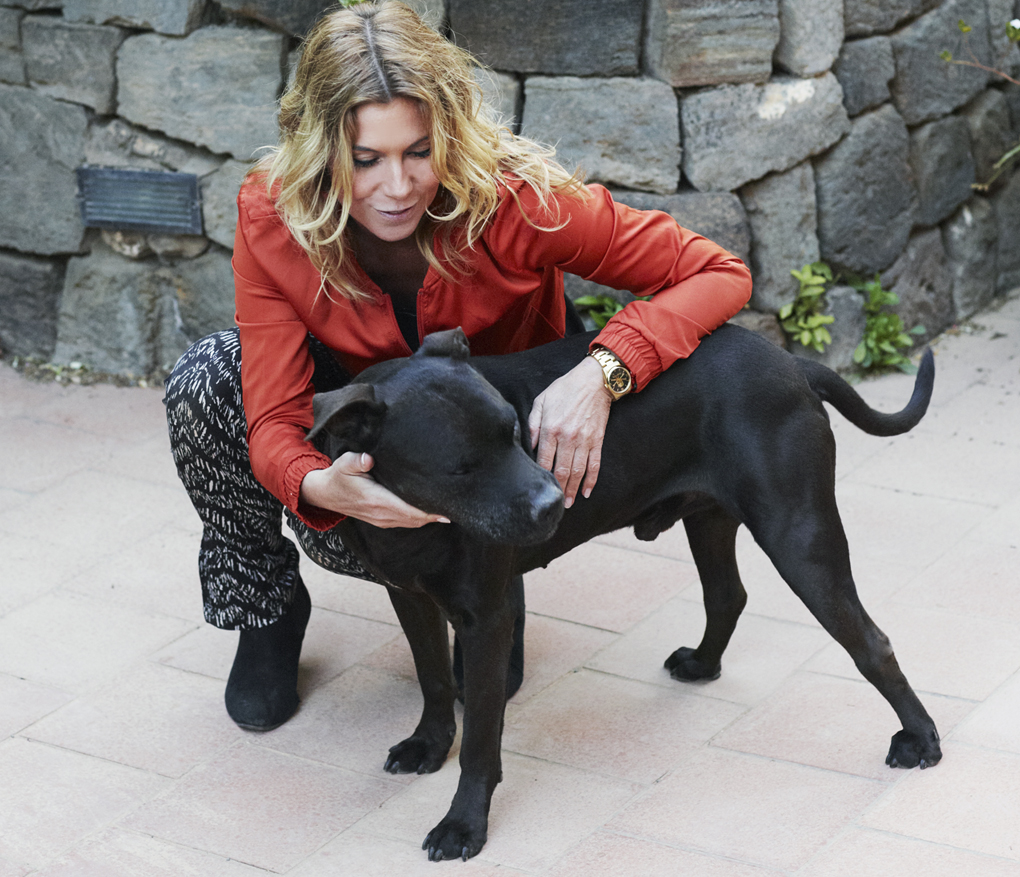
The season for blackberries in Pantelleria is long. It begins in early July and ends in early September. The berries ripen, dry up and are then scorched by August’s heat. As soon as the weather begins to cool a bit, after the middle of August, the bushes bloom again and in come new berries. During my morning walks in Ghirlanda I pick them and eat them as a breakfast on the go. Sometimes I bring a basket to fill because Igor, the dog who usually refuses both fruits and vegetables, ADORES blackberries. He munches them up in seconds wagging his tail the whole time. Then he looks up at me as if to say, “Thanks! Can I have some more?” and his mustache is all purple. Watching him so happy fills my heart. I just love this guy!

Igorlove 1 blackberries IgorCF074547

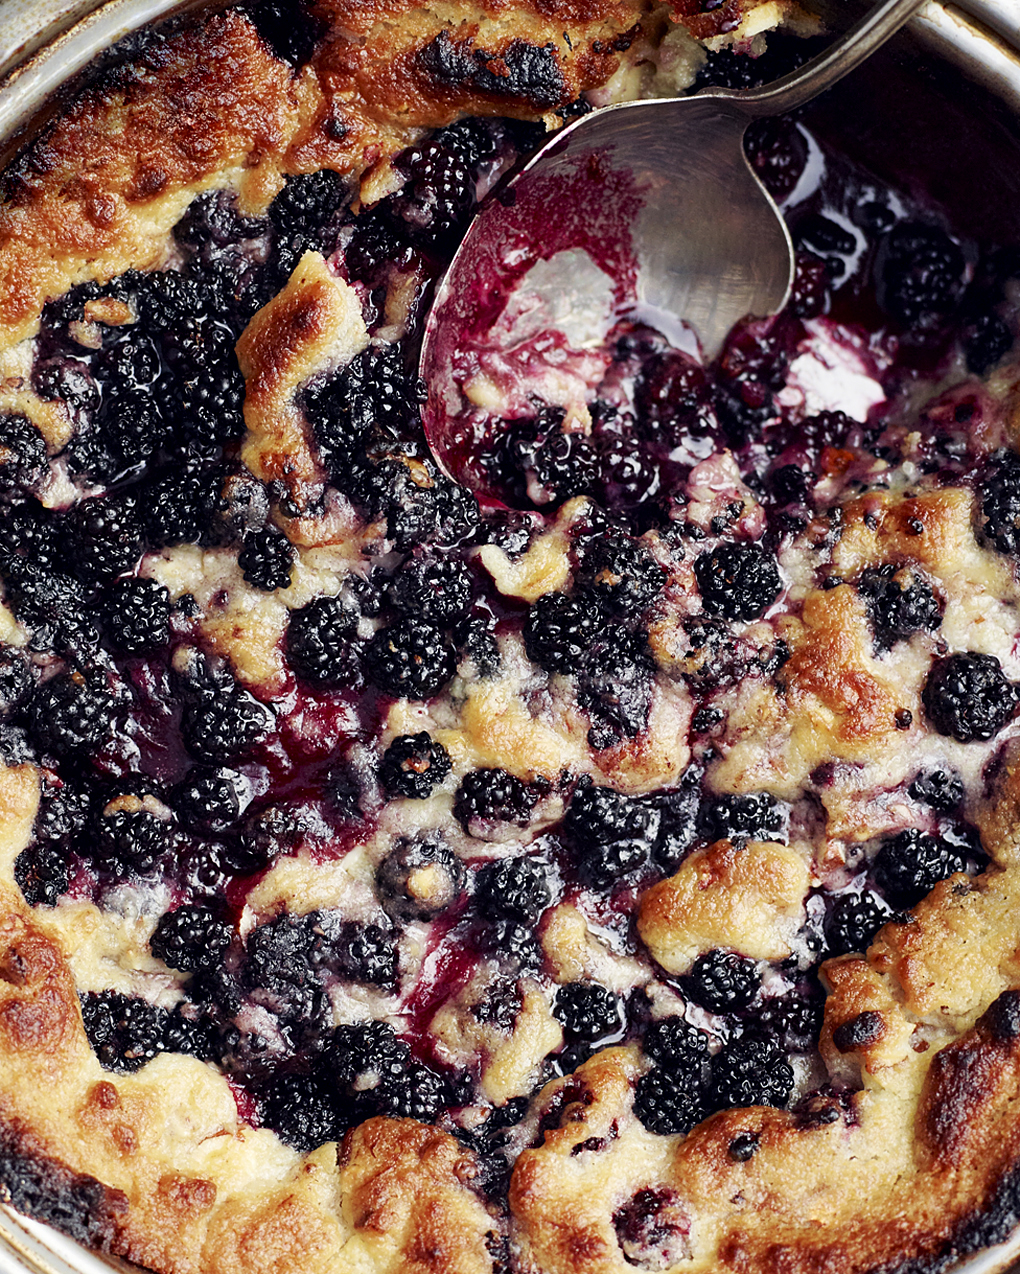
Once in a while I make a cobbler that’s not too bad either. Served with vanilla ice cream, it is basically heaven on a plate.

Blackberry Cobbler
Serves 8
The recipe fits a baking pan of 9.5 in (24 cm) in diameter.
Grease the baking pan with butter.

Ingredients
9 oz (250 grams) room temperature soft butter
1 Tablespoon bourbon vanilla sugar
1 pinch of sea salt
1/2 cup (1.2 dl) almonds roughly chopped
1 cup (2.4 dl) caster sugar
1.5 cup ( 3.6 dl) of flour
4 cups (1 lit) of black berries

Method
Mix all the ingredients for the dough using your hands.
Pour in the black berries in the baking pan and add the dough in dots or lumps around the berries
Bake at 400 degrees F (200C) for about 15 minutes.
Serve the cobbler with a good vanilla ice cream

3-blackberry crumbler-CF048502

Summer fruits


August 11, 2013

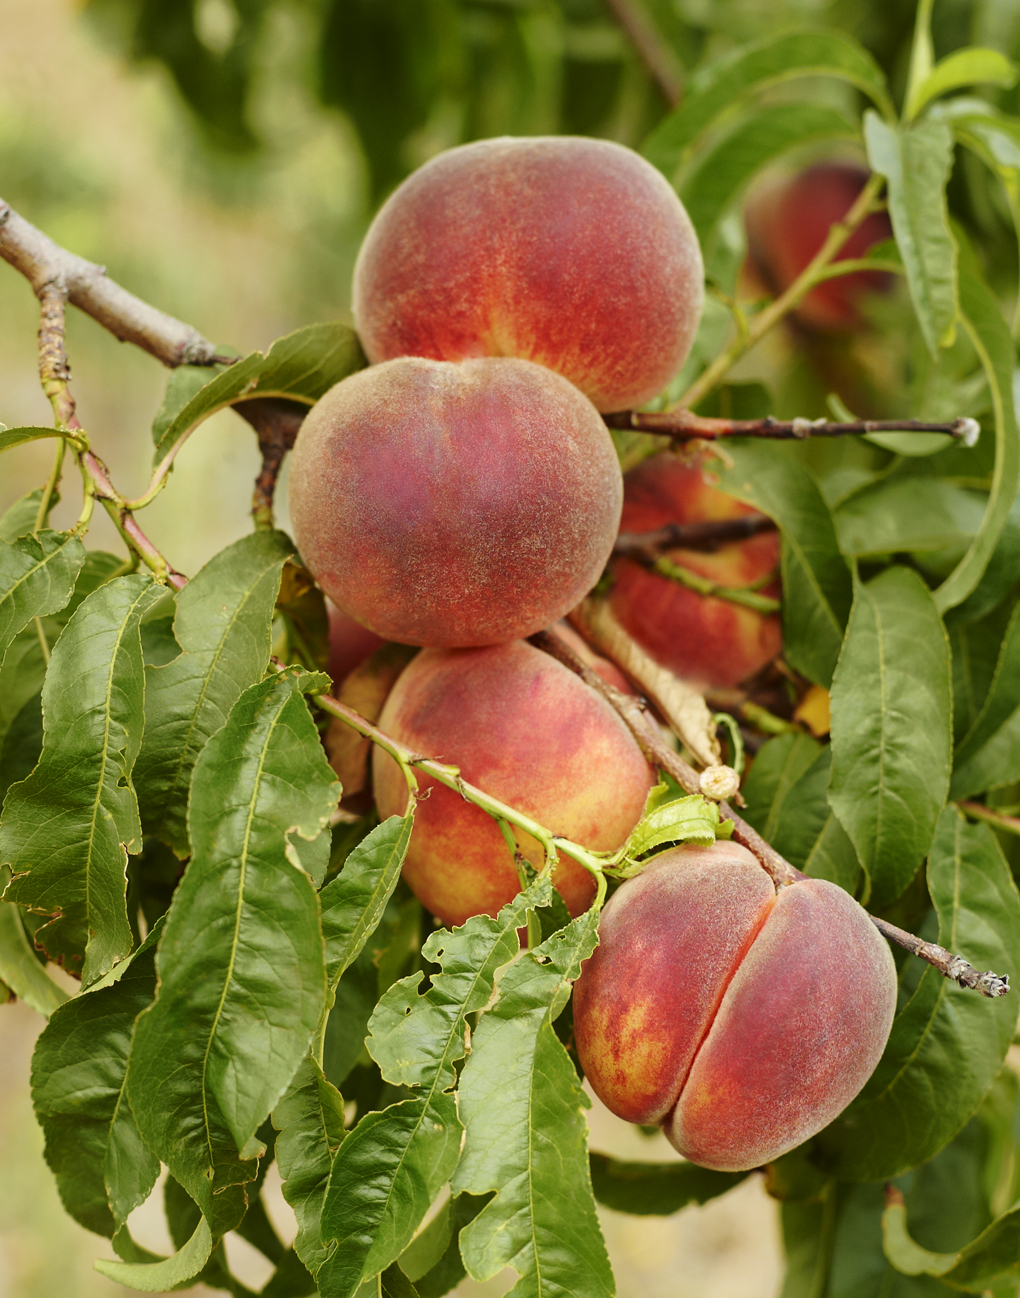
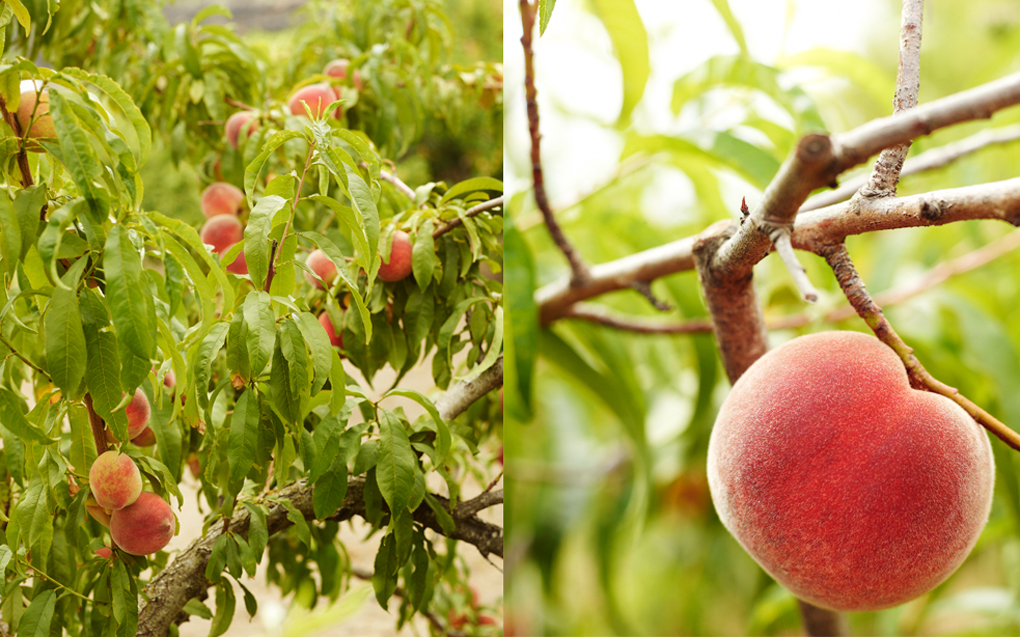
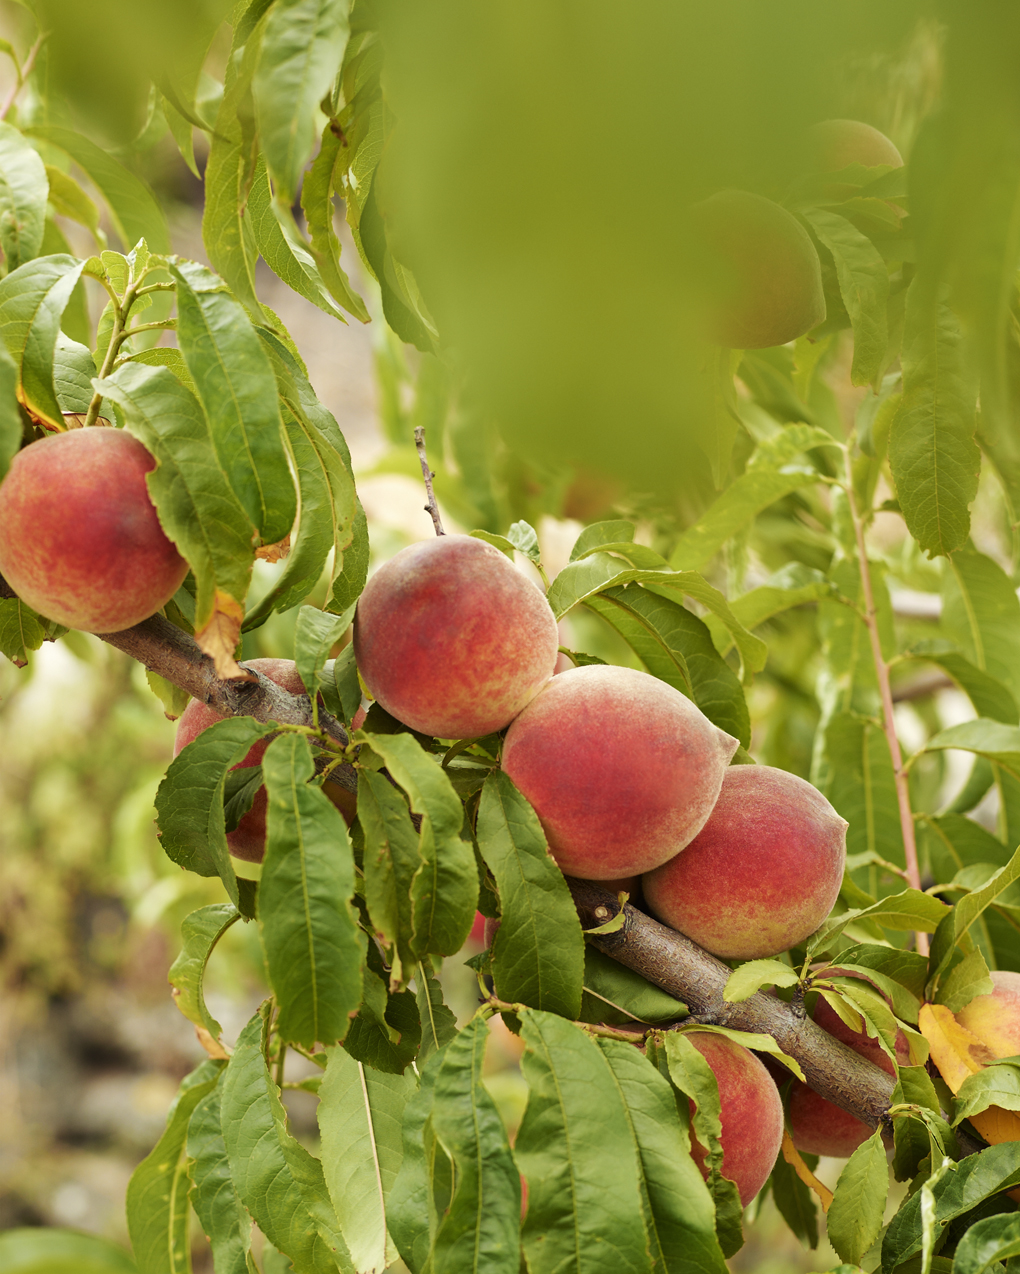
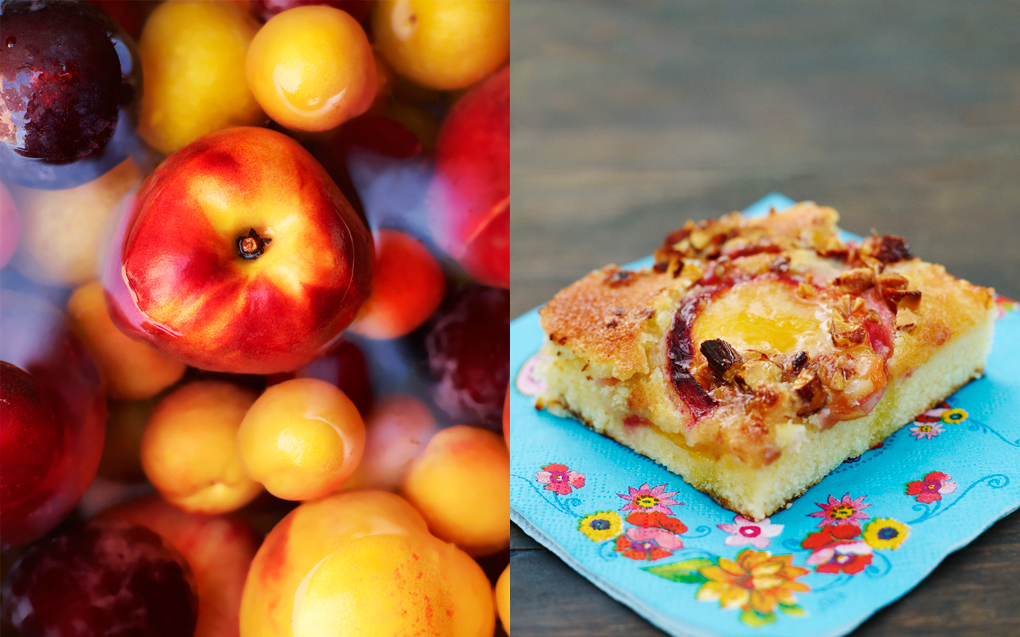
Summer is here with it’s all variety of delicious fruits like different types of plums, nectarines and peaches. Juicy and sweet straight from the trees in Favarotta, an area of agriculture here in Pantelleria. We eat the fruit for breakfast and make them into a juicy snack, to enjoy on the hot afternoons by the sea. I can not resist using these fruits in baking. One of may favorite desserts is the following delicious Peach and Almond blondie cake. Serve this cake with coffee and if you want, add a scoop of really good vanilla ice-cream and you have a scrumptious dessert.
peachtreee

Peach tree 1

peachtree 3-CF036891
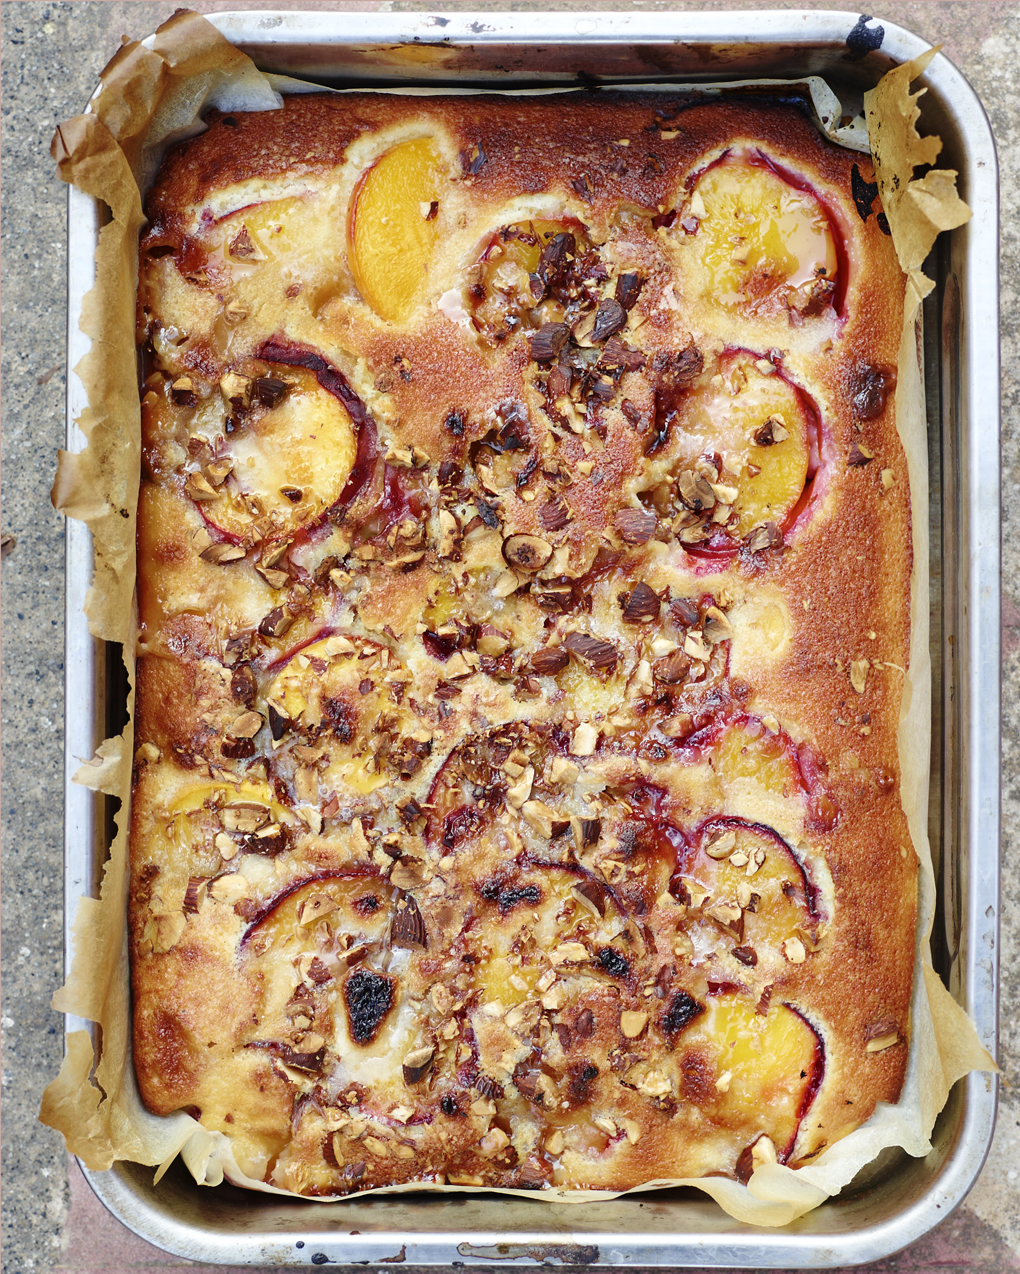
Peach and Almond blondie

Makes 8-10 blondies
Cake tin size about 9 x 13 inches (25×35 cm)

Ingredients
9 oz (250 grams) of butter melted
4 eggs
2 1/3 cups (5.5 dl) granulated sugar
2 cup (256 grams) flour
1 teaspoon baking powder
2 teaspoons vanilla sugar
1/2 teaspoon salt
1 teaspoon lemon zest
2 Tablespoons lemon juice
3-4 ripe peaches or nectarines
1 ounces (25 grams) almond paste
2 ounces (55 grams) coarsely chopped sweet almonds
1 Tablespoon sugar to sprinkle over at last moment

Method
Preheat the oven at 400 degrees ( 200 C)
Wash the fruit, cut in slices and remove the stone.

In a large bowl mix and whisk together the melted butter, sugar, eggs, flour, baking powder, vanilla sugar, lemon zest and lemon juice into a batter.

Line the bottom of the baking tin with parchment paper, pour in the batter. Next place slices of the peaches/nectarines in on the batter, sprinkle sugar over, grate almond paste grossly and finally sprinkle with almonds.

Bake at 400 degrees (200 C) for about 25-30 minutes.
Let cool down and cut in squares.
peachblondie 2CF041767

peachblondie1
This recipe is also published in the Swedish magazine icakuriren summer issue 33/34

Lavender biscotti with chocolate


May 21, 2013

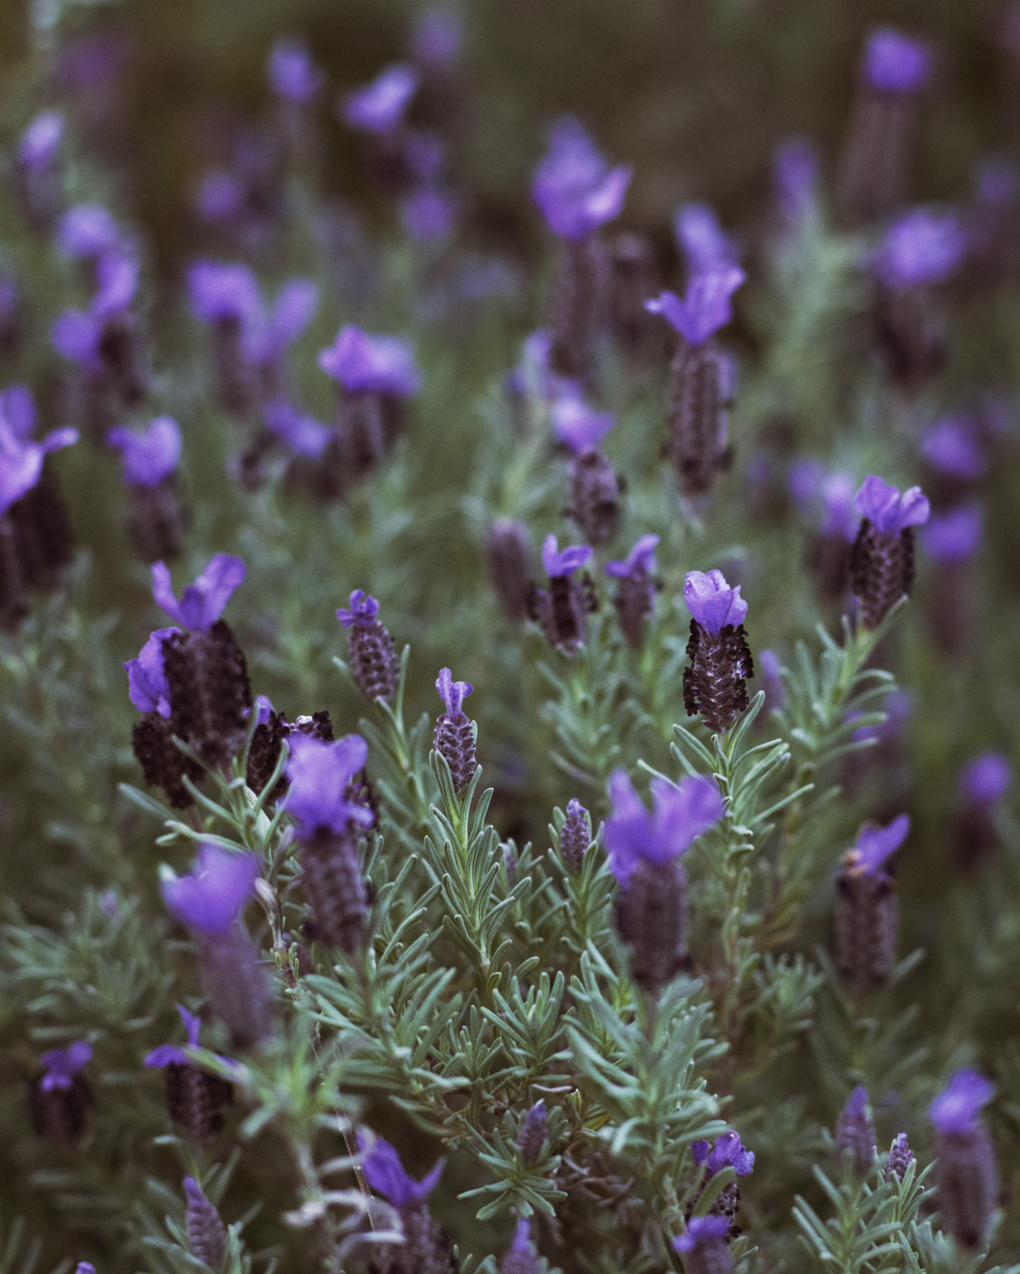
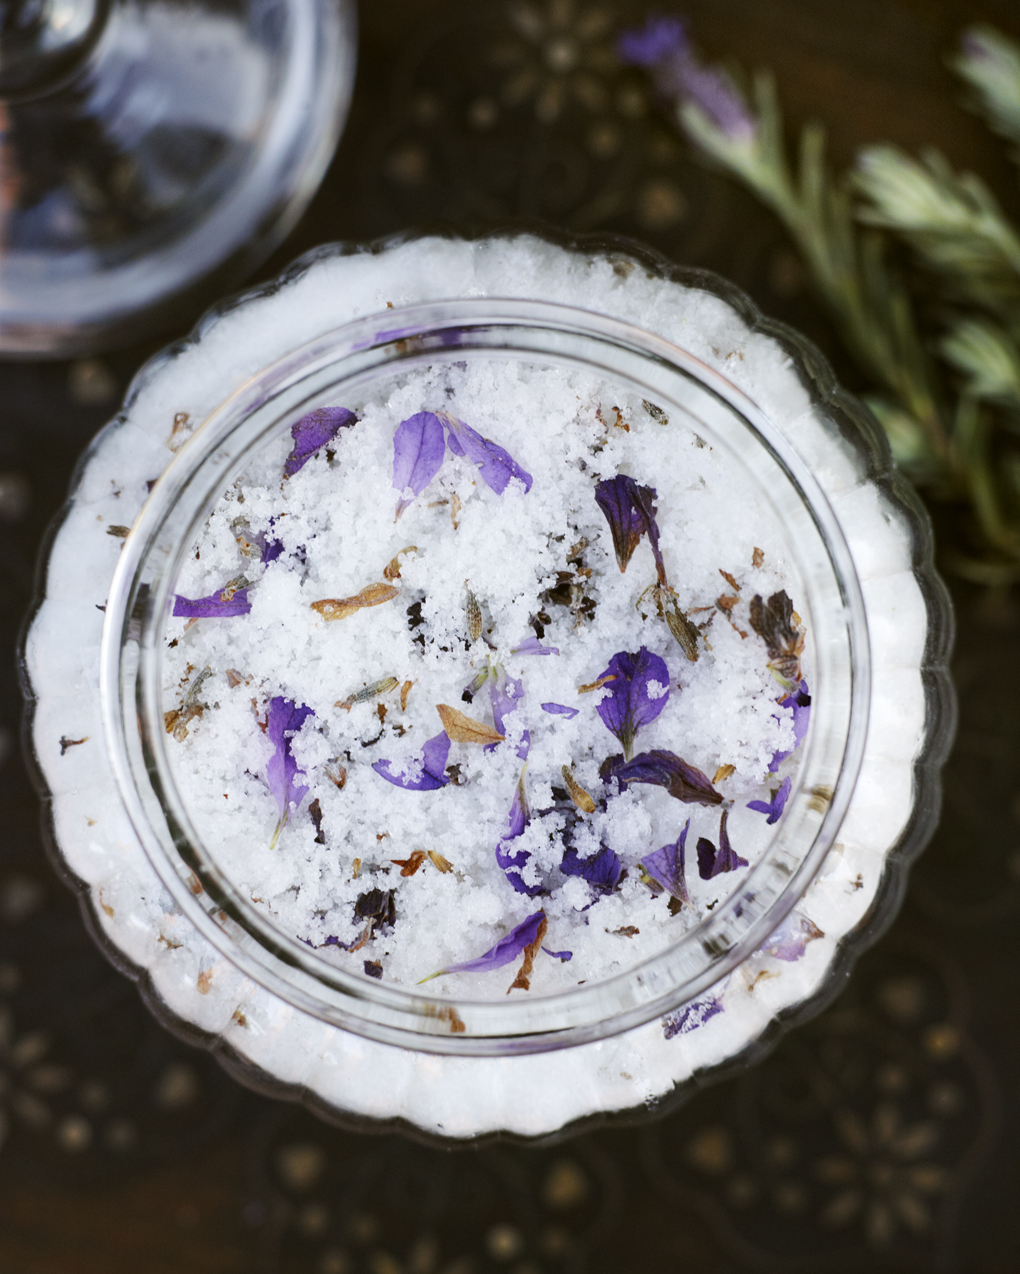
A few months months ago the lavender started to bloom here in Pantelleria. Hills become suddenly covered with blue lavender flowers. Their scent is so pure and soothing. I couldn’t resist picking a lot of these adorable flowers and made lavender sugar. It’s really a simple thing- you just mix sugar and lavender flowers, they can be fresh or dried. For every 3 1/2 ounces (100 gram) of sugar use 2 Tablespoons of lavender. Mix sugar and flowers and store in a large clean jar. Seal the jar and shake every couple of days, the sugar will be ready in a week. Mine has been waiting for months and this week I used some of it to make biscotti.

1obesk-CF068115

2-obesk-CF066942

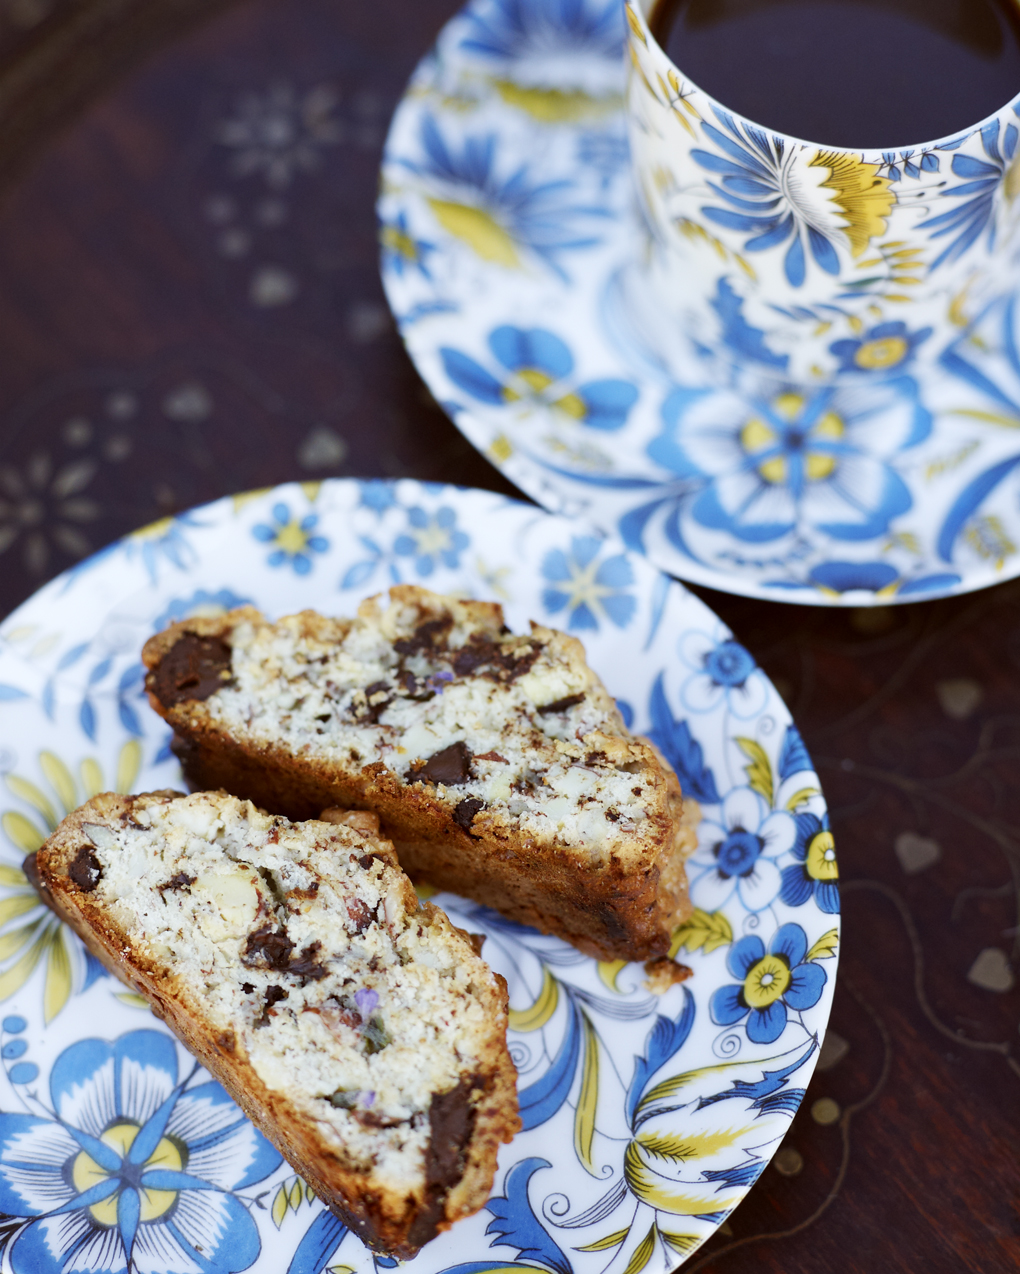
Lavender biscotti with chocolate

Ingredients:
1 cup of Almond raw (150 gram)
1 cup of lavender sugar (2,4 dl)
2 eggs
1 teaspoon salt
1 teaspoon baking powder
2 cup flour (4,8 dl)
1 dark chocolate bar of about 3 1/2 oz (100gr)

Method:
Chop the almond roughly, mix with the lavender sugar, salt and the egg. Mix the baking powder with the flour and stir in half of this with the batter. Cut the chocolate bar in rough chunks and mix in, then add the rest of the flour. Divide the dough in two halves and roll each half of the dough into a long shape for about 10 inches long (25 cm) and 2 inches (5 cm) wide.

Bake in the oven at 350 F (180 C) for a 15 -20 minutes on baking tray with baking paper. Cut the biscotti sideways and dry them in oven at  200 F (100 C) for about 60 minutes.

Let them stay overnight for drying on the baking tray or other, before you put them in a can or a box. Its important that they have dried properly before storing.

lavender biscottiCF038322


Foccacia alla Pantesca


April 19, 2013

Ever since I first tried the capers (capperi) from Pantelleria I’ve been totally addicted to them. My friends in Sweden and New York that cook obsess over them. Now and then I receive messages saying: please send more Capers! Yesterday I got an urgent note from my sister with a picture of an empty caper bag to illustrate the desperation.
In New York I could find other Sicilian capers, which are really good, but simply do not compare to the Pantescan capers… It’s the simple reality that this little island grows the best capers there are to find. Amazing how one little flower bud preserved in sea salt gives so much flavor. Last weekend we had great weather and we hung out with friends all Sunday in the tiny fishing village of Gadir. All of us made two or three dishes to bring for a pot luck picnic. One off my contributions was this foccacia bread. It is perfect for a buffet or picnic.
Wish you all a great weekend/ Anna

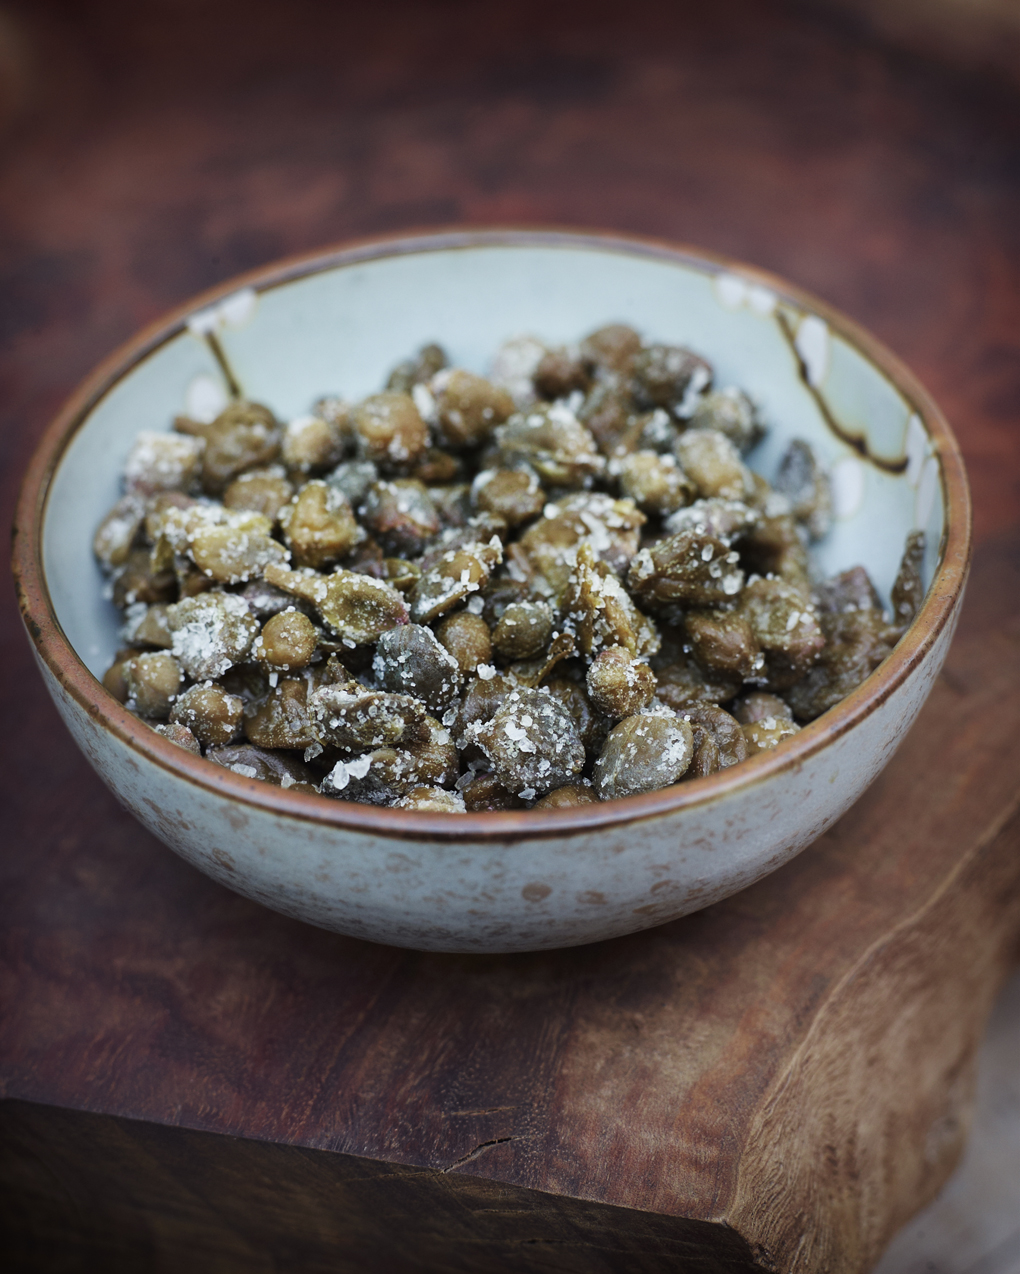
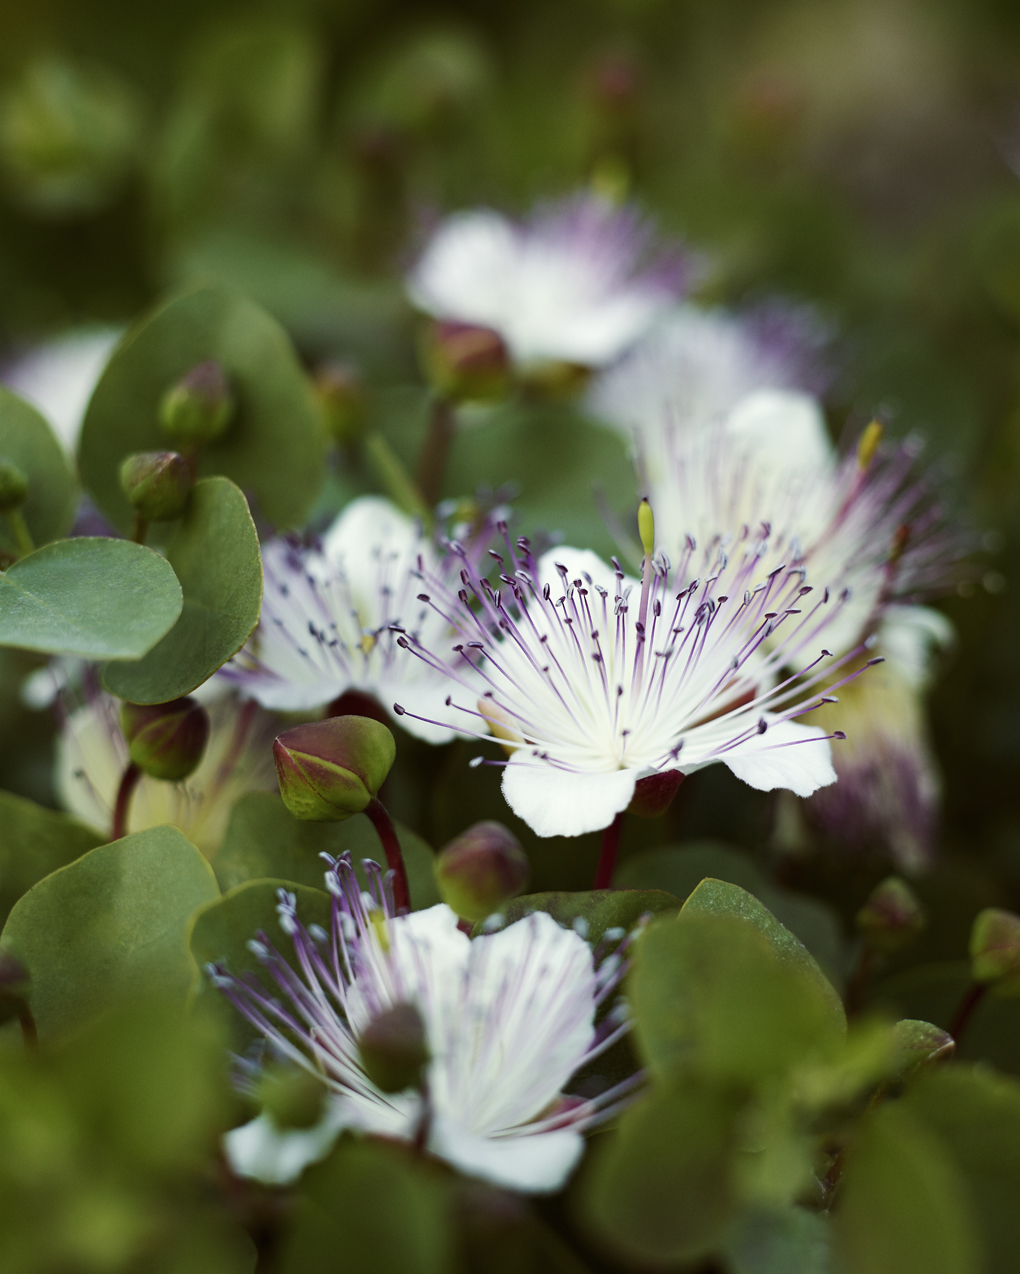
Capperi di Pantelleria-CF043215

Capperi di Pantelleria-CF032447

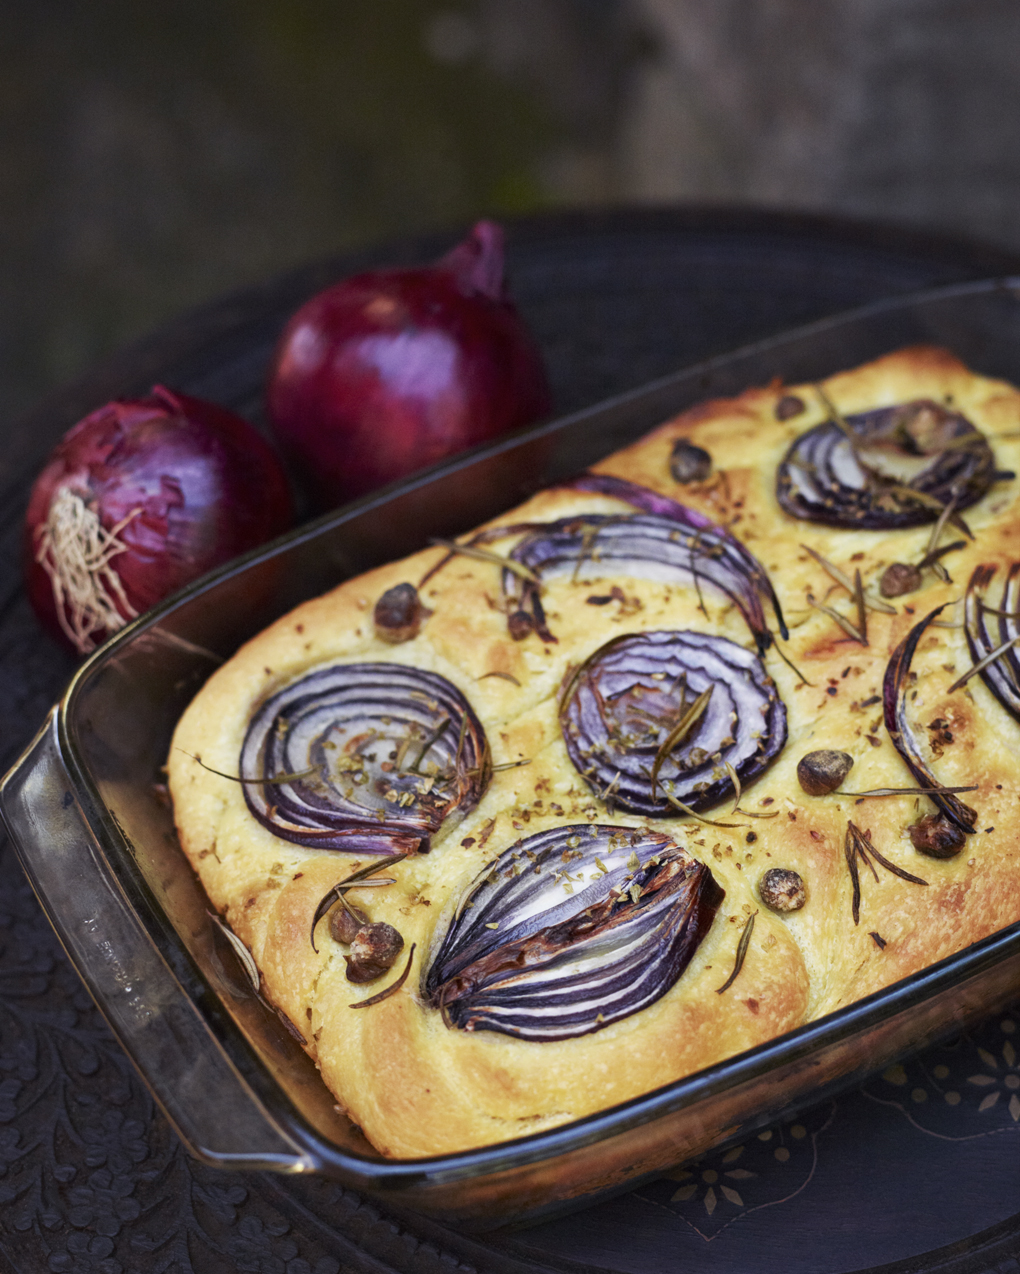
Focaccia alla Pantesca
Serves 10
Ingredients for the dough:
25 gram fresh yeast
3  cups (7.2 dl) all purpose flour
1/2 teaspoon sugar
1 cup (2.4 dl) luke warm water ideally no warmer then body temperature
1/2 (1.2 dl) cup olive oil

1/4 cup olive oil for the baking tin.

Ingredients for toppings for the Foccacia:
1/2 medium sized red onion cored and sliced
1 Tablespoon salt cured capers from Pantelleria
1 teaspoon oregano from Pantelleria
1 sprig fresh rosemary
1/4 cup(0.6 dl) olive oil
1 teaspoon sea salt flakes (I used Maldon)

Method:
Crumble the yeast in a mixing bowl and mix with lukewarm water and sugar. Cover bowl with plastic wrap and set aside in a warm place or in the sunlight for 15 minutes. This is called blooming the yeast

Once yeast has bloomed add olive oil to the mixture and begin adding flour at 1 cup at a time and working the mixture into a dough. The dough should come together and the bowl should have no flour sticking to the sides. Next on a clean flat surface sprinkle some flour and place the dough on top and knead the dough for 15 minutes.

Place  the dough back into an olive oil coated bowl cover with a clean cotton kitchen towel place back in the sun or a warm place and allow the dough to rise to double its size should take about 40 minutes. Preheat the oven to 400 F ( 200 C) degrees.

Take out an oven tray or baking tin, brush the bottom and edges with olive oil and sprinkle some salt flakes, don’t be skimpy on the olive oil use a 1/4 cup ( 0.6 dl)

Place the dough into the tray or baking tin shaping the dough to the size of the pan. Next place the  onion slices, rosemary, capers, oregano and drizzle some more olive oil over. Cover with a clean towel and place the pan in a warm place or the sun and allow to rise a second time for about 30 minutes.

Bake in the oven until golden for about 10 -12 minutes.

Focaccia Pantesca-CF071023

To buy capers and oregano from Pantelleria go to http://shop.underthealmondtree.com/products ships to all Europe and US adresses.

Read more about the love for capers from Pantelleria at my friends Amy and Peters blog http://flourishnourishinpantelleria.blogspot.it/2011/07/great-caper.html